
Soaker hose for garden bed watering is one of the easiest ways to stop hand-watering fatigue and cut down on runoff, but only if the hose is laid out and regulated correctly. When it works, the bed stays evenly moist, weeds stay calmer between rows, and you spend less time chasing dry corners with a sprayer.
Most problems people blame on “bad hoses” are really setup issues: too much pressure, the wrong layout for the bed shape, or the hose sitting on top of mulch where it dries before moisture reaches roots. The good news, you can usually fix this in one afternoon without rebuilding your whole garden.
This guide breaks down what typically goes wrong, how to tell whether your hose is actually delivering water evenly, and a few layouts that work in real gardens, including raised beds, long in-ground rows, and mixed plantings.
Why soaker hoses behave differently in garden beds
A soaker hose doesn’t “spray,” it seeps. That sounds simple, yet the physics matters: water leaves the hose wherever pressure and pore openings allow, so the first few feet often run wetter than the last few feet, especially on long runs or uphill beds.
According to EPA WaterSense, drip-style irrigation can reduce water waste compared with sprinklers in many landscapes because it delivers water closer to where plants use it. A soaker hose is a cousin of drip irrigation, but it’s less precise, so your setup choices decide whether you get that efficiency or just damp mulch.
- Pressure sensitivity: too much pressure creates uneven output and can shorten hose life.
- Soil type: sandy soil needs slower, longer watering; clay needs gentler watering to avoid runoff and puddling.
- Mulch and surface placement: on top of thick mulch, water may evaporate before soaking deep enough.
- Bed geometry: tight corners and mixed spacing make “one snake fits all” layouts unreliable.
Quick self-check: is your current setup working or just “kind of wet”?
Before you buy anything new, do a fast audit. This is where many gardeners save money, because the hose itself is often fine.
10-minute output test
- Turn the system on for 10–15 minutes.
- Feel the soil at several points: near the faucet end, mid-run, and the far end.
- Dig 2–3 inches down, don’t judge by surface dampness.
- If one end is soggy and the other is dusty, you have a pressure/length/layout issue, not a “watering schedule” issue.
Red flags that usually mean a design fix
- Dry spots at the far end even after long run times.
- Puddling near the connector while the middle stays barely moist.
- Water beading up on mulch instead of moving into soil.
- Plants that look uneven: one side thriving, one side stressed.
Choosing the right soaker hose for your bed (what matters, what doesn’t)
Shopping for a soaker hose can get weirdly confusing because marketing focuses on “heavy duty” and “ultra porous,” while your garden cares about fit and flow control.
- Diameter: 1/2-inch is common and usually easier to get even seepage in typical beds; smaller lines may struggle on longer runs.
- Length: shorter runs tend to water more evenly. If your bed is long, two shorter circuits often beat one long line.
- Material: recycled rubber or porous poly both can work; what matters more is consistent seepage and fewer kinks.
- Compatibility: if you plan to add a timer, pressure regulator, or filter, ensure standard garden-hose threading.
If you already own a hose, it’s usually worth trying a better layout plus a regulator before replacing it.
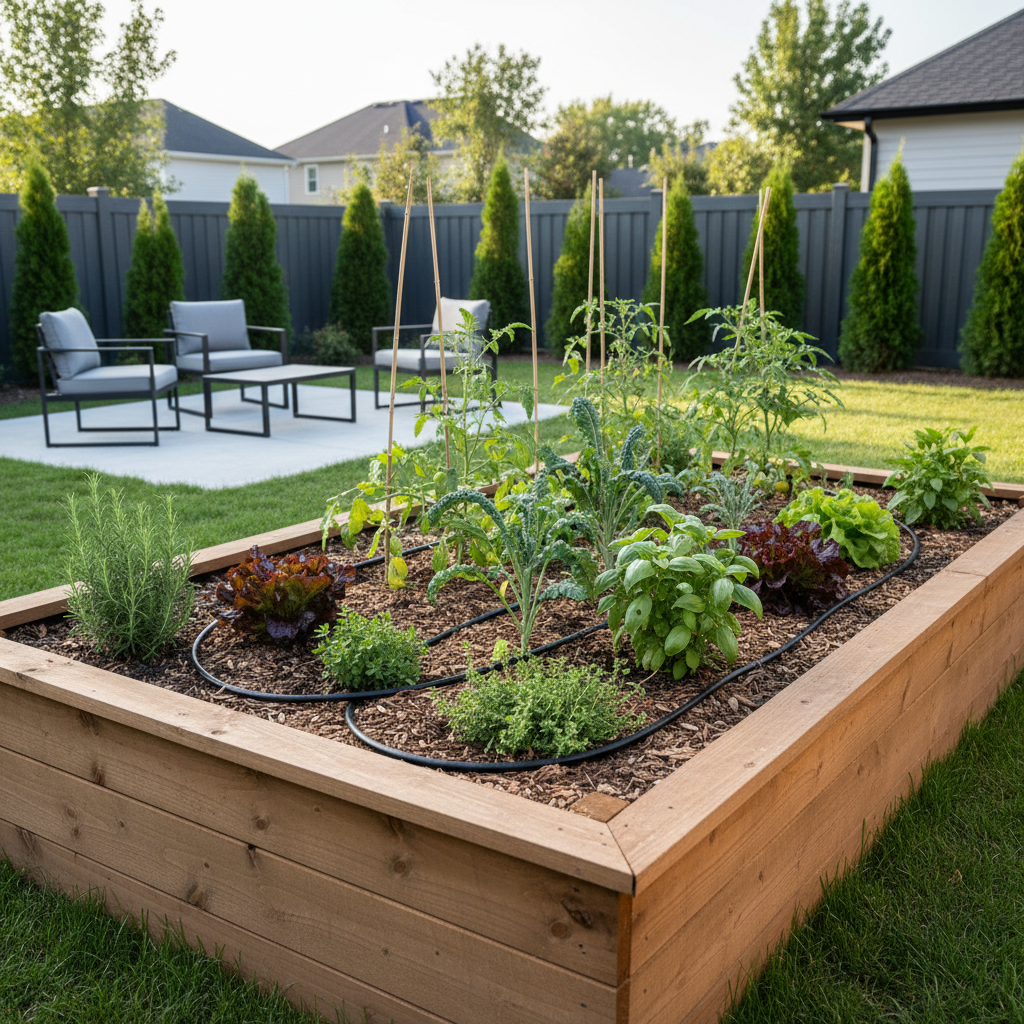
Best layouts for a soaker hose in garden beds (with pros and cons)
Layout is the difference between “nice idea” and “why is only one tomato happy.” A good rule is to keep the hose close enough that moisture zones overlap, but not so dense that the soil stays constantly saturated.
| Bed type | Layout that tends to work | Why it works | Watch out for |
|---|---|---|---|
| 4x8 raised bed | Serpentine rows, 12–18 in. spacing | Even coverage, simple routing | Too tight spacing can overwater greens |
| Long in-ground row | Two shorter runs fed from a splitter | Reduces end-of-line dry zones | More fittings, needs tidy routing |
| Mixed planting (flowers + veg) | Loops around high-need plants, less near drought-tolerant areas | Matches real water needs | Easy to forget “low-water” corners |
| Narrow bed (2–3 ft wide) | Single line down the center | Less hardware, less crowding | Edges may dry in sandy soil |
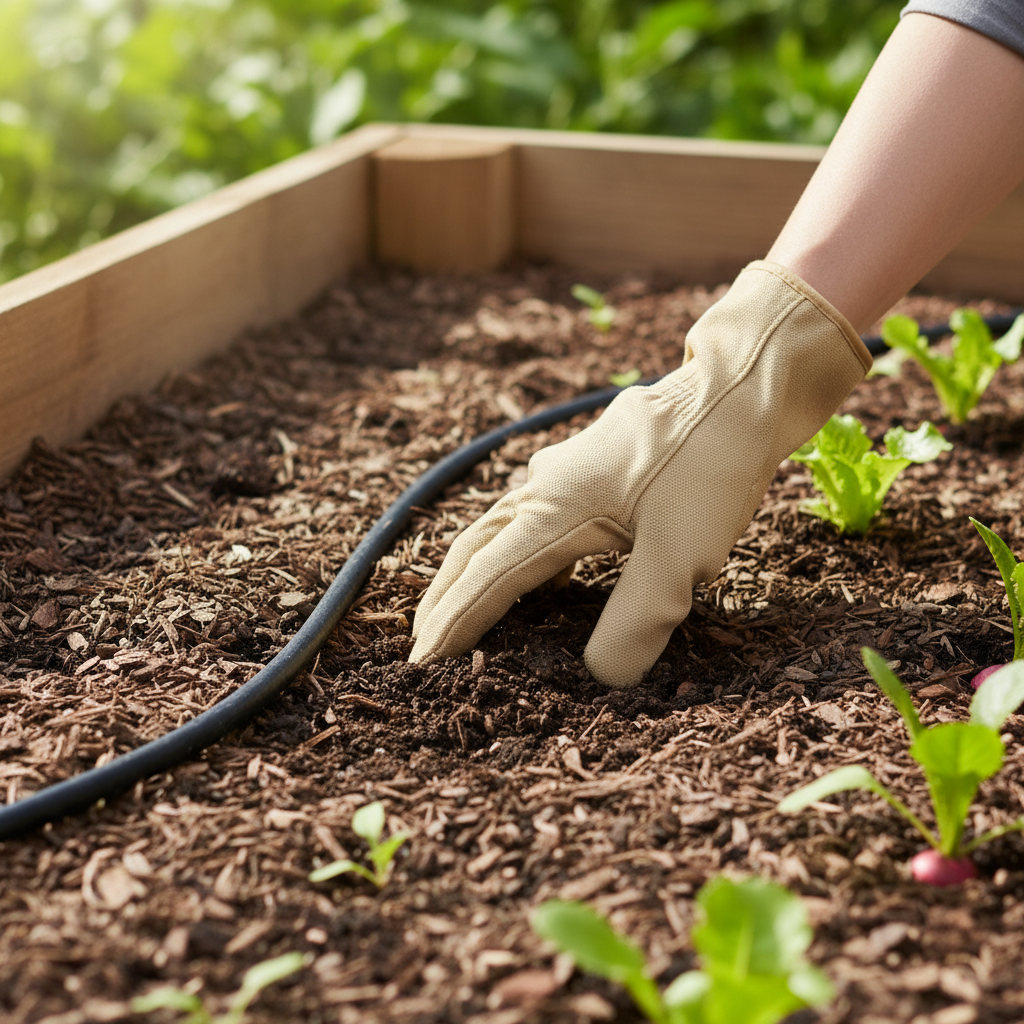
Placement: on soil, under mulch, or above mulch?
- Best in many cases: hose on soil, then 1–2 inches of mulch on top, so water moves downward instead of evaporating.
- If you must put it on mulch: expect longer run times and more evaporation on hot, windy days.
- Avoid burying deep: it can clog faster and becomes hard to inspect for leaks.
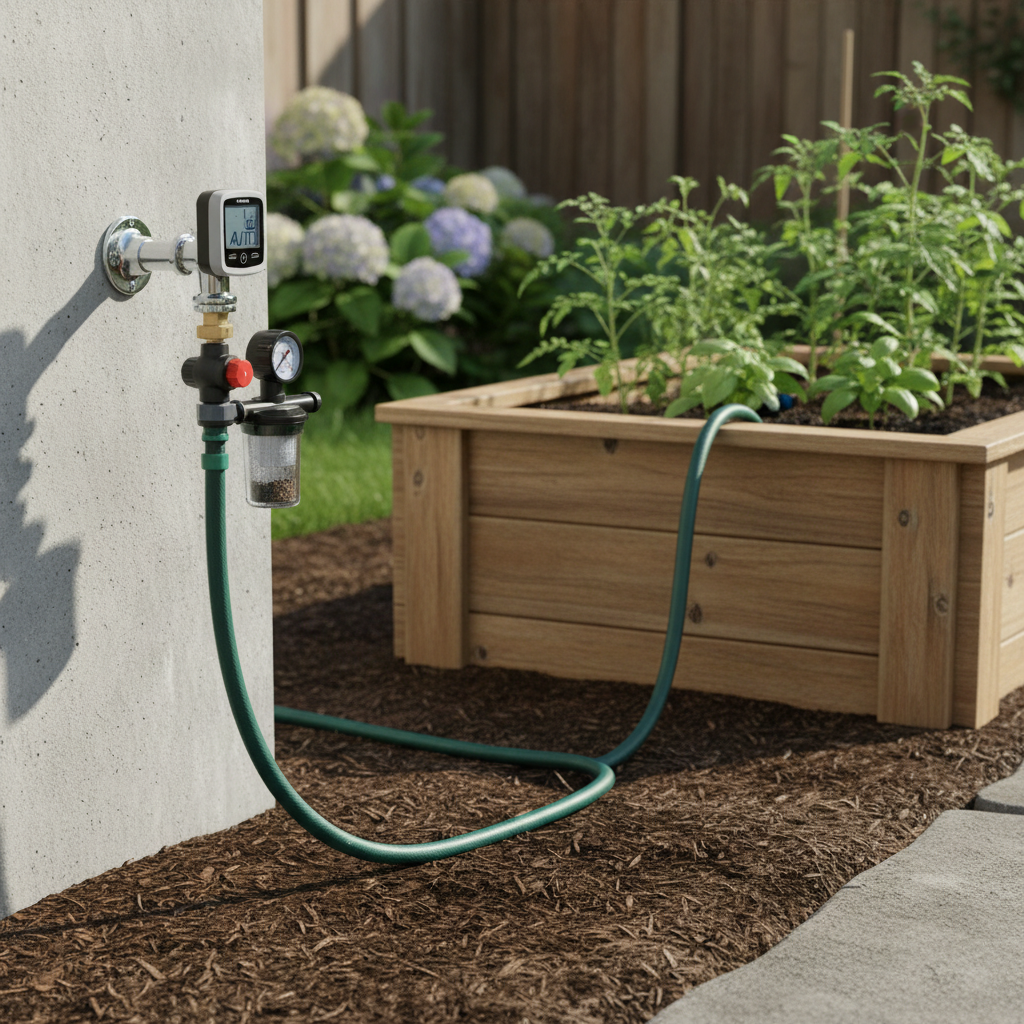
Installation steps that prevent leaks, clogs, and uneven watering
A clean install looks boring, and that’s the point. Most failures happen at the connection, from pressure spikes, grit in the line, or sharp bends.
- Add a filter: especially if you have sediment or use well water. A simple screen filter can reduce clogging.
- Use a pressure regulator: many soaker hoses perform better at lower pressure than a typical spigot provides.
- Keep runs reasonable: if output drops at the far end, shorten the length or split into zones.
- Cap the end properly: use an end cap or figure-eight fitting so you can flush the line occasionally.
- Stake it down: garden staples keep spacing consistent after you weed or harvest.
After setup, run water for a few minutes and walk the bed. Look for geysers, dead-dry stretches, or a connector dripping nonstop. Fixing those now saves weeks of guessing later.
Watering schedule: how long to run a soaker hose (without overthinking it)
There isn’t one perfect number because temperature, wind, soil, and plant maturity all change the math. What usually works better is a simple “deep but not daily” approach, then adjusting based on soil feel.
A practical starting point
- New seedlings: shorter runs more often, because roots stay shallow.
- Established vegetables: longer runs less often, aiming for moisture several inches down.
- Hot weeks: add time, not necessarily days, if the soil dries too fast.
If you use a timer, avoid tiny daily cycles that only wet the top inch. In many gardens, that encourages shallow roots and makes plants more fragile during heat spikes.
Common mistakes (and the fixes that actually help)
- Mistake: running the line too long for one zone. Fix: split the bed into two runs with a Y-splitter or separate zones.
- Mistake: skipping a regulator because “it seems fine.” Fix: add one when you see soggy starts and dry ends.
- Mistake: judging moisture from the surface. Fix: check 2–4 inches down, where roots actually live.
- Mistake: letting the hose kink at corners. Fix: use wider curves, stakes, or elbow fittings.
- Mistake: never flushing. Fix: open the end cap occasionally to push sediment out.
Key takeaway: if your soaker hose for garden bed watering feels inconsistent, solve pressure and layout first, then fine-tune timing.
When to get extra help or upgrade the system
If you’ve tried shorter runs, a regulator, and you still can’t get even moisture, it may be time to consider drip irrigation with emitters. Drip takes more planning, but it’s more controllable for mixed beds or tricky slopes.
Also, if you’re seeing flooding near your foundation, standing water that won’t soak in, or you suspect backflow issues, it’s smart to ask a local irrigation pro or a licensed plumber. Water pressure and plumbing setups vary by home, and a quick consult can prevent expensive mistakes.
Conclusion: a simple setup that stays consistent
A soaker hose can be a very solid “set it and forget it” tool for beds, but the win comes from the unglamorous parts: right length, low pressure, sensible spacing, and checking soil depth instead of guessing. Pick one bed, dial it in, then copy that pattern to the rest of your garden.
If you want a low-effort next step, do the 10-minute output test this week, then add a pressure regulator if the bed shows soggy-to-dry swings. That single change fixes more setups than people expect.
FAQ
How do I place a soaker hose for a garden bed with dense plantings?
Keep the line closer to the plants that actually need steady moisture, and don’t be afraid to run wider loops around heavier feeders like tomatoes. Dense beds often need more than one pass so moisture zones overlap.
Is it better to run a soaker hose in the morning or at night?
Morning tends to be easier on the garden because leaves dry sooner and you lose less water to wind than mid-day. Night watering can work, but in humid climates it may increase disease pressure, so watch plant health and adjust.
Can I cover a soaker hose with mulch?
Yes, and many gardeners prefer it because it reduces evaporation and keeps the hose in place. Just avoid burying it too deep, and make it easy to inspect connectors.
Why is my soaker hose dry at the end of the line?
That usually points to a run that’s too long, too much elevation change, or not enough pressure control. Shorten the circuit or split it into two zones, then retest soil moisture at the far end.
Do I need a pressure regulator for a soaker hose?
In many homes, yes, because spigot pressure can be higher than what a porous hose distributes evenly. If you see pooling near the start or mini “sprays” from the hose surface, a regulator is a reasonable next move.
How long should I run a soaker hose for garden bed vegetables?
Use soil feel, not a fixed number. Start with a run long enough to wet several inches deep, then adjust based on how quickly that zone dries between waterings in your weather and soil.
Can I connect multiple soaker hoses together?
You can, but it often creates uneven output unless your pressure and total length stay within what your setup can support. If you need more coverage, splitting into parallel runs tends to be more predictable than chaining long lines.
If you’re trying to water multiple beds and you’re tired of trial-and-error, a simple plan is to map each bed, decide on one reliable layout, then standardize your fittings, regulator, and timer so every zone behaves the same way.