
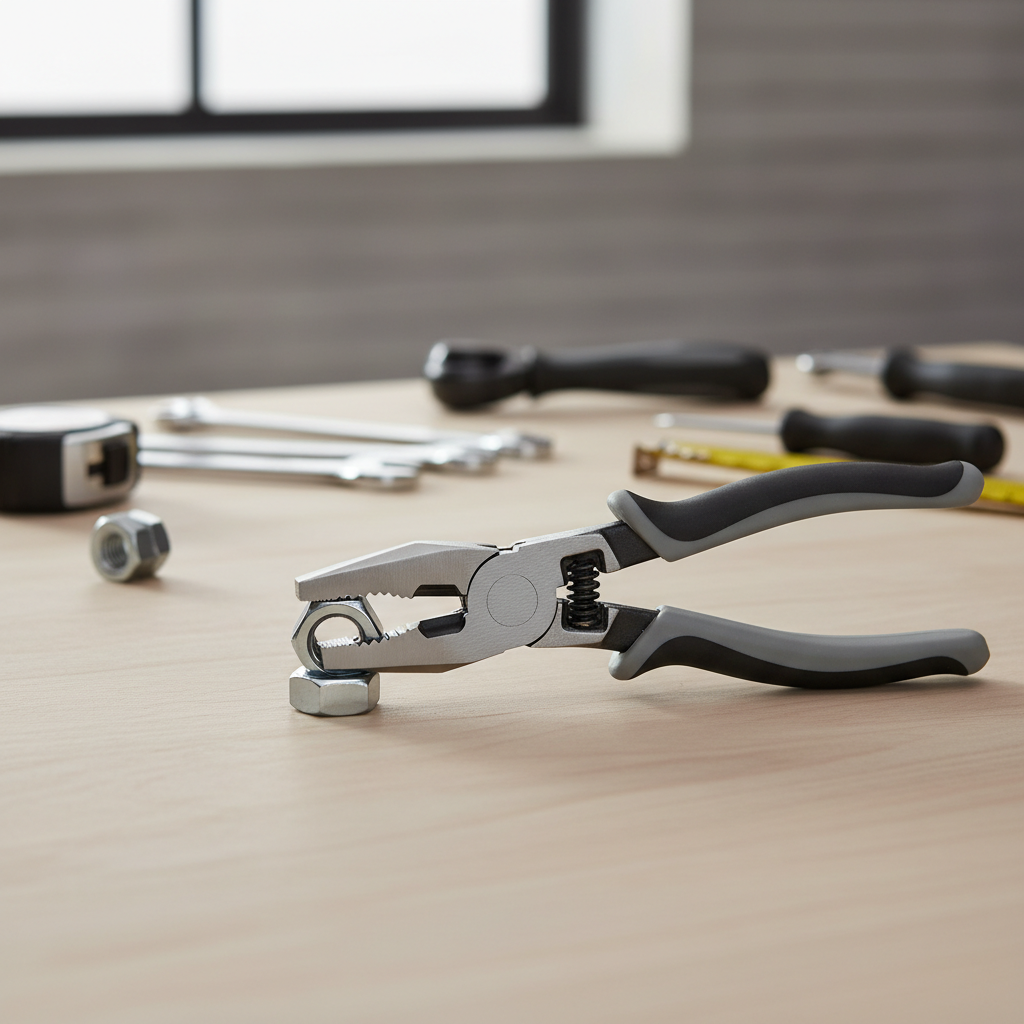
Slip joint pliers adjustable tools are usually the quickest fix when you need “one pair of pliers” for mixed-size nuts, small pipes, hose clamps, or random household hardware. If you’ve ever had a tool slip, round off a fastener, or pinch your hand because the jaws didn’t fit, you already know why the adjustable part matters.
The good news is slip joint pliers are simple, affordable, and genuinely useful, but they’re also easy to misuse. The jaw geometry, the number of adjustment positions, and even the handle shape can decide whether you get a confident grip or a frustrating, half-chewed bolt.
This guide focuses on general-use selection and real-world technique, not brand hype. You’ll get a quick way to tell whether slip joint pliers fit your job, what features matter, and when you should switch to a different tool instead of forcing it.
What “adjustable slip joint” really means in daily use
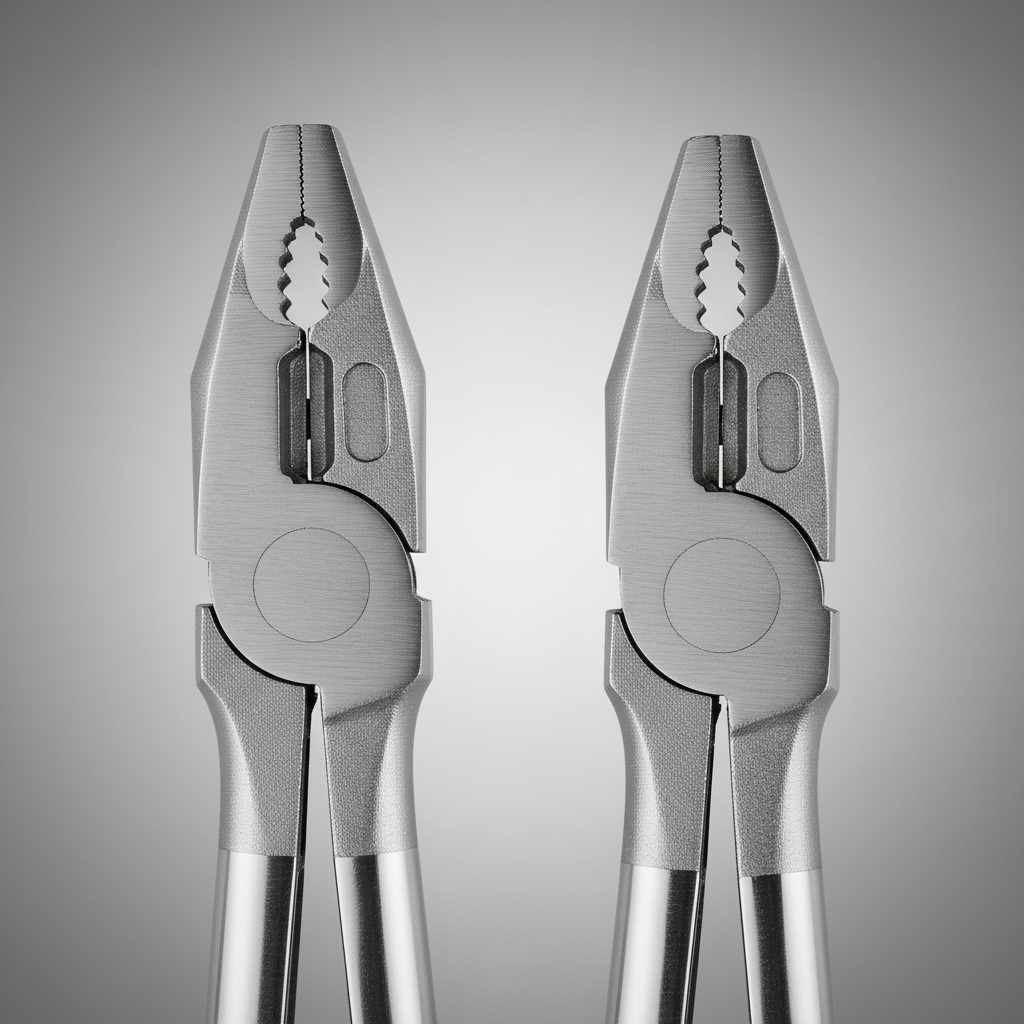
Slip joint pliers adjust by moving the pivot pin into different grooves, which changes how wide the jaws open. Most have two positions, some have more, and that extra range often helps with odd-size fittings around the house.
In practice, you’re buying three things:
- Jaw range: how small and how wide it can grip without sitting on the jaw tips.
- Bite quality: how well the teeth and jaw angle hold onto flat-sided fasteners versus rounded objects.
- Control: how stable the tool feels under load, especially when you’re turning instead of just holding.
Slip joint pliers are a “generalist.” They can hold, turn, pinch, bend, and pull, but they won’t outperform a dedicated wrench on a tight nut, or tongue-and-groove pliers on a pipe.
Why slip happens: the common causes (and how to avoid them)
Most complaints about adjustable slip joint pliers come down to fit and direction of force, not “bad pliers.” A few patterns show up over and over.
Jaw set too wide (you’re gripping on the tips)
If only the jaw tips touch the work, the tool wants to cam out. Reposition to the tighter pivot setting and seat the fastener deeper into the jaws.
Wrong tool for the surface
Teeth are great for pipe, hose clamps, and rusty hardware, but they can chew up soft finishes. For polished fixtures, you may want smooth-jaw pliers or a small adjustable wrench with less marking risk.
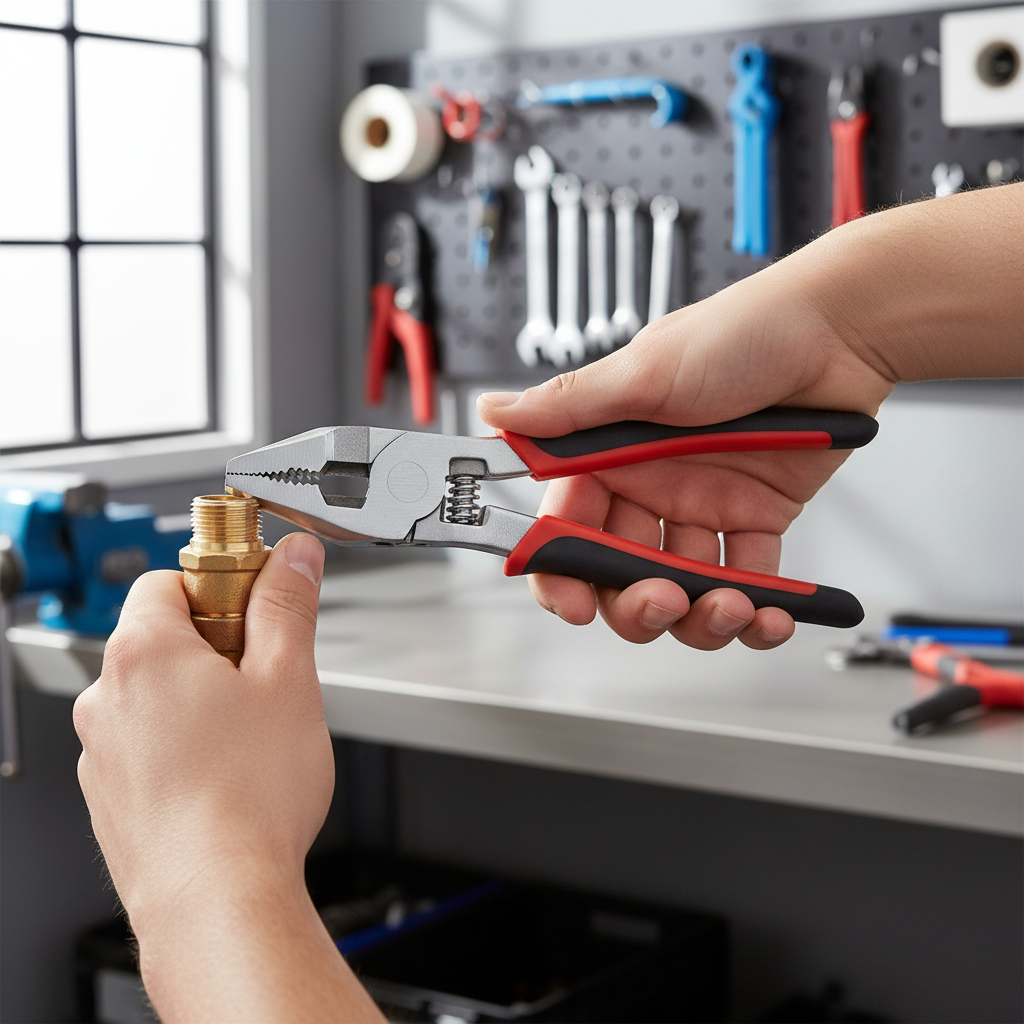
Twisting instead of pulling
With slip joint pliers, a controlled “pull” often keeps the jaws seated better than a hard twist. This is especially true on rounded parts where you’re fighting rotation and slip at the same time.
Oil, soap, or corrosion
Anything slick reduces friction. Wipe the part, wipe the jaws, and if needed, use a penetrant and wait. According to OSHA (Occupational Safety and Health Administration), keeping tools maintained and using the right tool for the task helps reduce hand-tool injuries.
Quick self-check: are slip joint pliers the right choice for your job?
Before you commit, run this quick checklist. It saves time and prevents damaged hardware.
- Yes if you need to hold a part steady while you loosen something else, pinch a clamp, pull a cotter pin, or bend light wire.
- Yes if the fastener is not torqued down hard, and you can seat the jaws fully.
- Maybe if it’s a hex nut you care about cosmetically, since teeth can mar edges.
- No if the nut/bolt is very tight, because rounding risk climbs fast; use the correct wrench or socket.
- No if you’re working on energized electrical gear; use insulated tools rated for that work and consult a qualified electrician.
If you’re on the fence, a simple rule works: if you need repeatable torque without cosmetic damage, grab a wrench; if you need fast gripping across mixed sizes, slip joint pliers make sense.
How to choose adjustable slip joint pliers for general use
For a household toolkit, you’re usually balancing comfort, range, and durability. Fancy features don’t matter if the tool pinches your hand or can’t grab the sizes you actually see.
- Size: 6–8 inch is a common “do most things” range; 8 inch often feels more capable without being bulky.
- Number of positions: two works, more positions help when the “almost fits” sizes show up.
- Jaw teeth: sharper teeth bite better on round stock but mark more; finer teeth are gentler but may slip sooner on pipe.
- Handle comfort: look for grips that don’t force your hand open too wide; comfort matters more than people admit.
- Joint play: excessive wobble makes control worse and increases slipping risk under load.
- Material and finish: quality steel and a decent corrosion-resistant finish usually pay off if you store tools in a garage or truck.
It’s also worth thinking about what sits next to these in your kit. Many people pair slip joint pliers adjustable models with a small adjustable wrench and a set of locking pliers, that combination covers a lot of “weekend fix” situations.
Comparison table: slip joint vs other common pliers (when to switch)
When adjustable slip joint pliers feel “almost right,” the table below helps you pick the next-best tool without guessing.
| Tool | Best for | Where slip joint struggles | Damage risk |
|---|---|---|---|
| Slip joint pliers (adjustable) | General gripping, light turning, quick holds | High torque fasteners, repeatable tightening | Medium (teeth can mar) |
| Tongue-and-groove pliers | Pipes, larger fittings, strong holds | Small precise hardware | Medium to high |
| Needle-nose pliers | Small parts, tight spaces, bending wire | Wide grip, heavy pulling | Low to medium |
| Locking pliers | Clamping, seized parts, hands-free holding | Delicate surfaces, speed | High (can crush/mark) |
| Adjustable wrench | Hex fasteners with less rounding | Round parts, quick grabbing | Low to medium |
Practical technique: get a stronger grip with less frustration
Slip joint pliers reward small adjustments. A few habits make them feel like a better tool immediately.
Seat the work deep in the jaws
Don’t pinch with the tips unless you have to. Deep seating increases contact area, which reduces slipping and jaw chatter.
Set the pivot so the handles feel “firm,” not stretched
If your hand is forced wide open, you lose squeeze strength. Move the pivot to a smaller opening and re-seat.
Use the correct direction of force
When turning, aim so the load pushes the movable jaw into the work rather than prying it open. If you feel it walking off the part, flip the tool orientation.
Protect finished surfaces when needed
A thin piece of leather, a strip of rubber, or even folded tape can reduce tooth marks for light-duty holds. It won’t replace the right tool, but it helps in a pinch.
Key takeaway: if you’re squeezing hard and still slipping, stop and reset. Most of the time the fix is jaw position and orientation, not more force.
Care, safety, and the mistakes people repeat
Hand tools feel low-risk until they slip and your knuckles find a sharp edge. A few precautions go a long way.
- Don’t use pliers as a wrench on tight hex fasteners if you can avoid it, rounding corners creates a bigger job.
- Skip “cheater bars” on plier handles; that extra leverage can break the joint or send you off balance.
- Wear eye protection when pulling pins, springs, or corroded parts. According to ANSI (American National Standards Institute), eye and face protection helps reduce injury risk in many work settings.
- Keep the joint clean; grit in the pivot makes adjustment rough and increases wear.
- Retire damaged tools if the pivot is loose, jaws are chipped, or the handles crack, failure usually happens at the worst moment.
If you’re working around plumbing, gas lines, or anything you’re not confident about, it’s reasonable to pause and consult a licensed professional. Forcing a fitting can turn a small leak into a bigger repair.
Conclusion: a smart “general use” pick, as long as you use it like one
Slip joint pliers adjustable tools earn their spot because they cover a lot of everyday gripping without making you stop and swap tools every five minutes. Choose a comfortable size, make sure the jaws seat deep, and treat them as a fast-grip solution, not a torque monster.
If you want one action step, do this: check your current pliers for jaw wobble and fit on common sizes in your home, then upgrade to a tighter-jointed pair if yours constantly slips. That change alone often makes general repairs calmer.
FAQ
What are slip joint pliers used for around the house?
They’re commonly used for holding small parts, turning light-duty fasteners, squeezing hose clamps, pulling nails or pins, and bending thin wire. They shine when sizes vary and you want one tool that adapts quickly.
Are slip joint pliers adjustable enough for plumbing work?
For small tasks like holding a nut while you loosen another part, they can work. For pipes and larger fittings, tongue-and-groove pliers or a pipe wrench usually grip more securely, especially on rounded surfaces.
How do I stop adjustable slip joint pliers from slipping?
Reset the pivot to a tighter setting, seat the work deeper in the jaws, and change the tool angle so the turning force closes the jaws instead of opening them. Also wipe oil or soap off the part and the jaws.
Will slip joint pliers damage nuts and bolts?
They can, particularly if the teeth bite into corners or you squeeze hard on soft metals. If appearance matters or you need reliable torque, a properly sized wrench or socket is the safer choice.
What size slip joint pliers should I buy for general use?
Many homeowners do well with 6–8 inch. If you only buy one, 8 inch often offers a nicer balance of reach and control without feeling oversized in a drawer.
What’s the difference between slip joint pliers and groove joint pliers?
Slip joint pliers usually have a couple pivot settings and a slimmer jaw profile for mixed tasks. Groove joint pliers have multiple groove positions and often clamp harder on larger, round objects like pipe.
Can I use slip joint pliers on electrical work?
For non-energized tasks like pulling a staple or holding a bracket, possibly. For anything that could contact live circuits, use insulated tools rated for electrical work and consider calling a qualified electrician.
If you’re building a small “covers most jobs” kit, slip joint pliers are a good anchor tool, but it’s even better when paired with a small adjustable wrench and a basic set of screwdrivers, you’ll spend less time improvising and more time finishing the repair.