
The best center punch tool for metal is the one that leaves a crisp dimple on your exact layout mark without skating, mushrooming, or forcing you to “double hit” just to see a dent.
If you drill metal often, you already know the pain: the bit walks, the hole lands a hair off, and suddenly your bracket, hinge, or tap hole feels sloppy. A good punch is a small tool, but it quietly controls accuracy across a whole job.
This guide breaks down what actually matters in 2026 shopping: punch type, tip and body materials, adjustability, and the little checks that tell you if a tool will hold up in real use, not just look good in photos.
What a center punch really does (and why it fixes bit-walk)
A center punch creates a small conical “seat” that helps the drill point self-center. Without that seat, a drill bit often skates across harder surfaces, especially stainless, tool steel, or mill scale.
In practice, a good punch helps you:
- Start holes where you intended, not where the bit drifted.
- Reduce scratched surfaces on visible parts.
- Improve consistency for tapping, rivets, sheet-metal screws, and dowel pins.
- Speed up layout work when you have a lot of holes to place.
According to OSHA, controlling tools and workpieces helps reduce common shop injuries, so treat punching like part of safe setup: secure the part, keep fingers clear, and wear eye protection.
Types of center punches: which one fits your work
Most buying mistakes come from choosing the wrong type, not a “bad brand.” Here’s the practical breakdown.
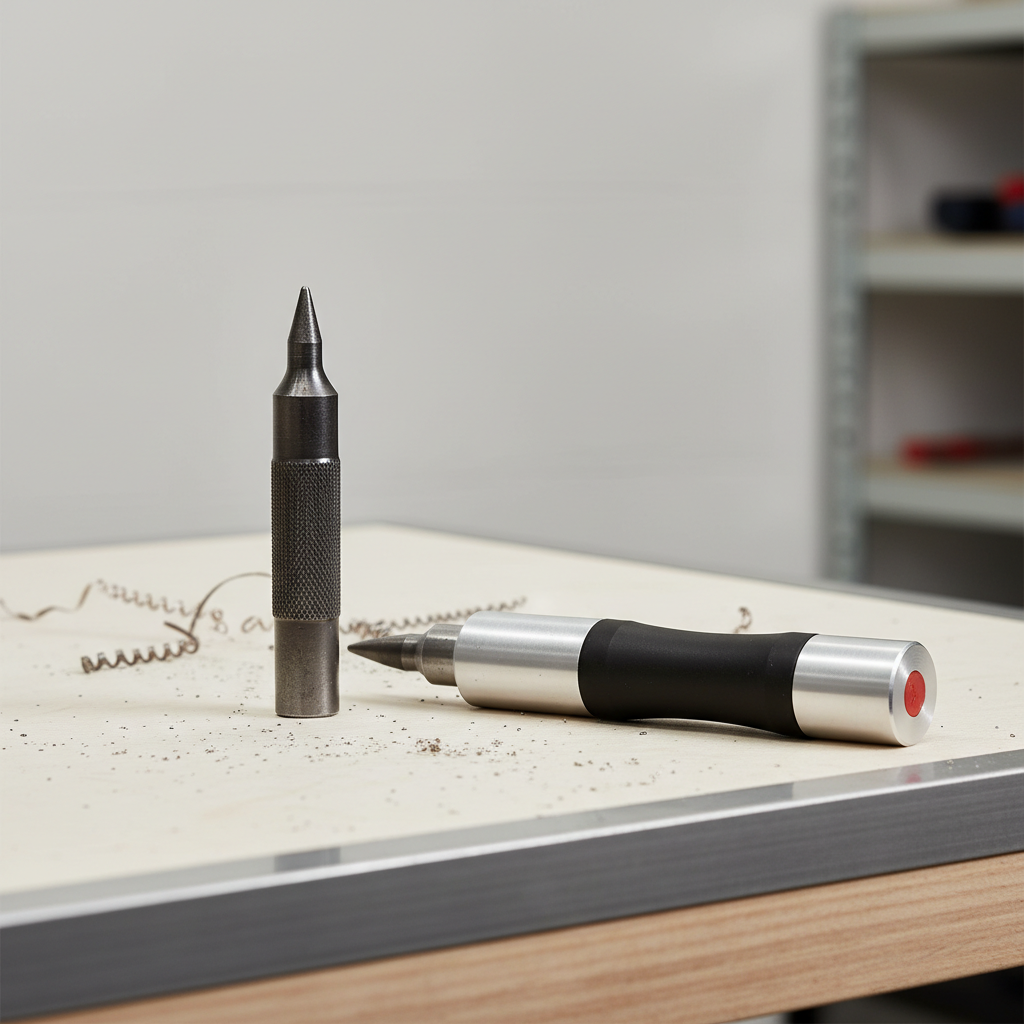
Manual (hammer-struck) center punch
This is the classic punch: you place it, hit it with a hammer, and get a deep mark. It’s still the go-to when you need maximum control on thick steel or when the surface is rough.
- Pros: strong marks, predictable, works on very hard stock when paired with the right tip.
- Cons: needs a hammer, easier to miss-hit if you’re rushed, louder.
Automatic center punch
An automatic punch uses an internal spring to “fire” a strike when you press down. It’s fast for repetitive layout and convenient on ladders or tight benches where swinging a hammer is awkward.
- Pros: one-hand use, quick, great for sheet metal and light fabrication.
- Cons: some struggle on very hard materials unless the mechanism is strong and adjustable.
Prick punch vs center punch (quick clarity)
A prick punch typically has a sharper included angle for layout lines; a center punch has a wider angle better suited to guiding drill points. Many people mix them up, then wonder why the mark “looks fine” but the bit still wanders.
What to look for when buying the best center punch tool for metal
Specs matter, but only the ones that translate to consistent dimples and long tool life. Here are the features that usually separate “works for a week” from “lives in the toolbox.”
- Tip hardness and material: Look for hardened tool steel. Some premium tips use carbide for very hard metals, but carbide can chip if abused.
- Tip geometry: A wider angle often supports drill starts; a too-sharp point can deform quickly on tougher alloys.
- Replaceable tip: If you punch daily, a replaceable point can be a money-saver.
- Adjustable strike (automatic): You want enough range to go from aluminum sheet to stainless without fighting the tool.
- Grip and knurling: Sounds minor until oily hands show up; good knurling reduces slips.
- Body alignment: A punch that feels “wobbly” in the tip or cap tends to mark inconsistently.
If you’re trying to pick the best center punch tool for metal for mixed jobs, prioritize adjustable strike and a durable tip over fancy coatings.
Quick comparison table: choosing by use case
This isn’t about naming a single winner, it’s about matching the punch to what’s on your bench most weeks.
| Use case | Recommended type | Tip preference | Why it works |
|---|---|---|---|
| Sheet metal, HVAC, panels | Automatic (adjustable) | Hardened steel | Fast one-hand marks, consistent spacing |
| General fabrication (1/8–1/2 in steel) | Manual or strong automatic | Hardened steel, replaceable if possible | Better control, deeper dimples |
| Stainless, hardened parts, tool steel | Manual (hammer-struck) | Premium hardened or carbide | More force on demand, less dependence on spring |
| Machining layout, precision holes | Manual + light hammer | Sharp, well-ground point | Fine placement, predictable depth |
| Field work, tight spaces | Automatic | Hardened steel | No hammer swing, easier on a ladder |
Self-check: are you buying the right punch or compensating for another issue?
Before you spend money, it’s worth checking whether the “punch problem” is actually a setup problem. This quick list saves a lot of frustration.
- Your drill bit walks even after punching: is the bit dull or the wrong point style for metal?
- The dimple looks shallow: are you punching on a soft backing or a wobbly part?
- The punch tip mushrooms or flattens: is the tip too soft or are you hitting at an angle?
- Marks look off-center: are you using a prick punch when you need a center punch, or vice versa?
- Automatic punch “misfires” or sticks: is the mechanism gritty from shop dust, or is the spring range too weak for your material?
Many times, the best center punch tool for metal won’t feel “amazing” until the rest of the workflow is decent: solid support under the part, correct drill speed, and a sharp bit.
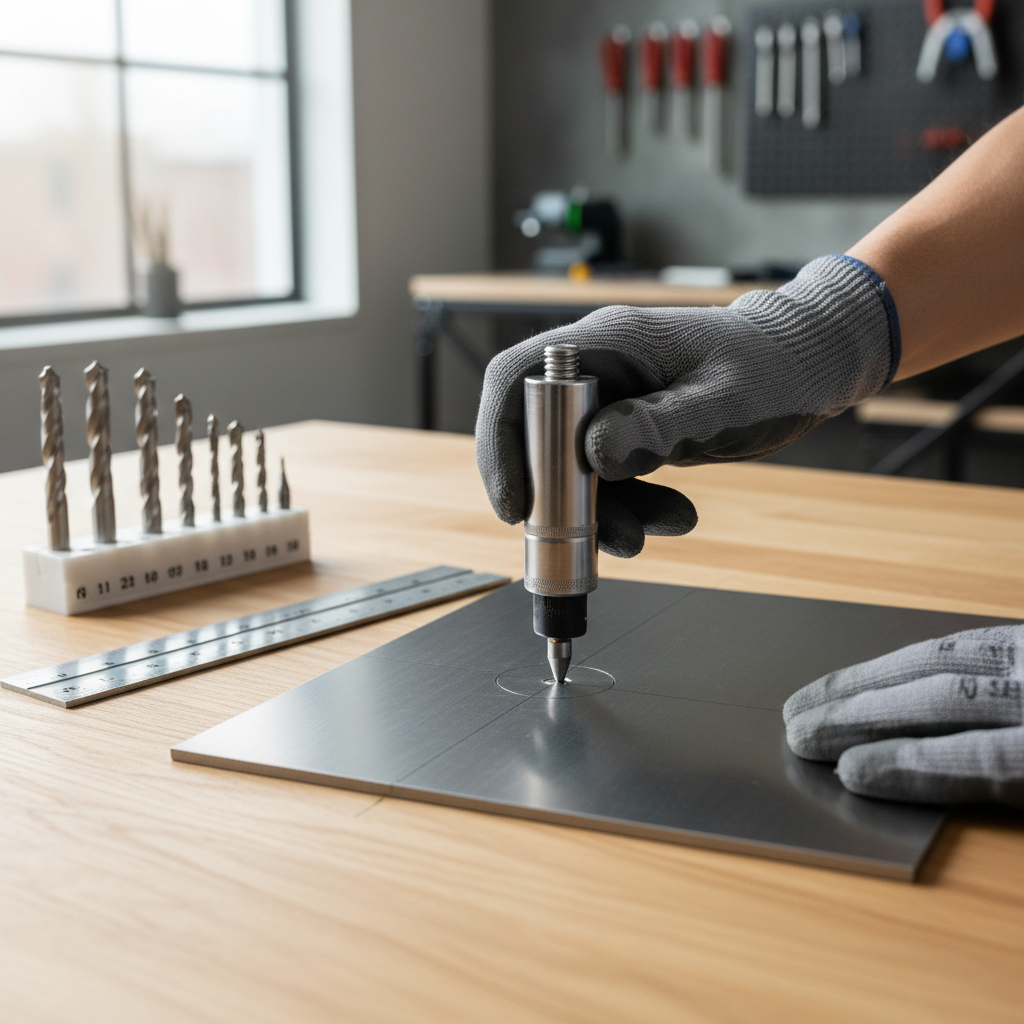
How to use a center punch on metal (clean marks, fewer do-overs)
This is the “boring” part that makes the tool look good. The goal is a mark that’s deep enough to steer the drill, without distorting thin sheet.
For manual punches
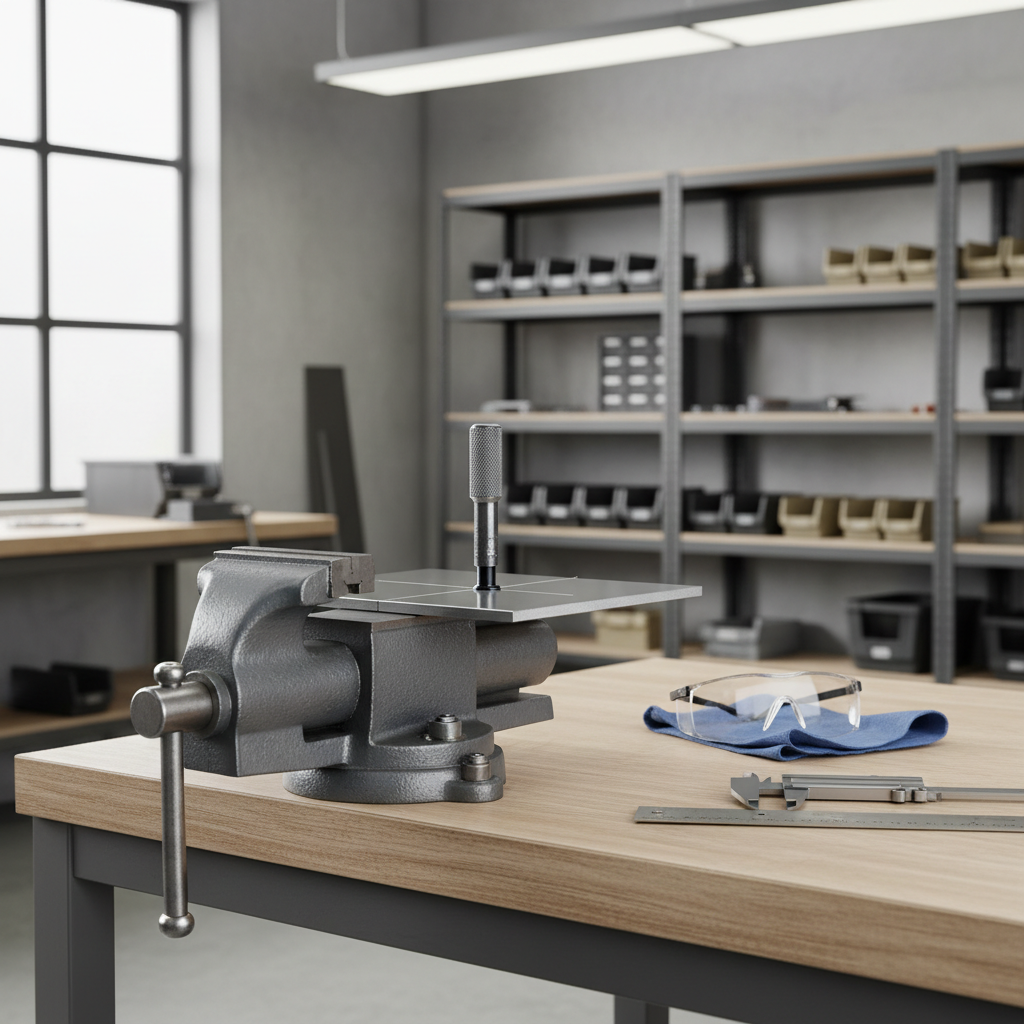
- Support the work on a solid surface, ideally a steel bench block or firmly clamped vise.
- Place the tip on your intersection mark, then lean your eye close and correct for parallax before you hit.
- Use a small hammer for control, then increase force only if the dimple stays shallow.
- If the first hit is slightly off, don’t “chase” it with hard hits. Nudge with a lighter tap and re-seat the point.
For automatic punches
- Set the strike strength low, test on scrap of the same metal, then increase until the dimple holds a drill point.
- Press straight down. If you press at an angle, the mark often elongates and the tool feels inconsistent.
- On stainless or harder alloys, you may need two controlled strikes rather than one maxed-out slam.
According to NIOSH, eye protection is a basic control for tasks that can produce flying particles, so wear safety glasses when punching and drilling, even for “one quick hole.”
Common mistakes that make any punch feel “bad”
Some problems look like tool quality issues, but they’re really habits.
- Marking on mill scale without a plan: scale can be slick and inconsistent, a quick file pass can help.
- Trying to punch on thin sheet with too much force: you can warp the panel; use lighter settings or a backing block.
- Skipping layout clarity: if your scribe line is faint, you’ll “guess,” then blame the punch.
- Using a damaged tip: a chipped point skates, sharpen or replace it instead of fighting it.
- Not clamping: a moving part makes perfect placement nearly impossible, and it can be a safety issue.
When it’s worth upgrading (and when it’s not)
Upgrade makes sense if you punch weekly, work across different metals, or care about repeatability. An adjustable automatic punch plus a solid manual punch is a common “two-tool” setup that covers most shops.
If you only punch a few times a year on mild steel, a basic hardened steel punch often does the job, assuming you keep the tip in decent shape.
If you’re routinely working with very hard alloys, precision machining, or expensive finished parts, consider asking a machinist or tool supplier what point material and geometry fits your specific metal and drill style, because this is where the “it depends” becomes real.
Key takeaways (the shopping shortlist)
- Match type to workflow: automatic for speed, manual for maximum control and harder metals.
- Don’t ignore adjustability: it’s a big deal if you jump between aluminum and stainless.
- Tip quality beats body looks: hardened tool steel is the baseline, replaceable tips add value for frequent use.
- Setup matters: clamp the part, support it well, keep bits sharp.
Conclusion: The best center punch tool for metal in 2026 is less about hype and more about fit. Pick the type that matches how you work, verify tip durability and strike control, then practice a repeatable punching routine. If you do that, your drill starts get calmer, cleaner, and a lot more predictable.
If you want a simple next step, choose one adjustable automatic punch for daily layout and one sturdy manual punch for tougher jobs, then test both on scrap of your most common metal before committing to a bigger set.