
The best tile cutter for ceramic tiles depends less on the “top-rated” label and more on how much tile you need to cut, how clean your edges must look, and whether your room layout forces tricky notches and L-cuts. If you buy the wrong style, you usually notice it fast: chipped glaze, uneven lines, and a project that drags on.
Here’s the good news, ceramic is generally forgiving compared with porcelain or stone, so you have options. The bad news, ceramic still chips when the scoring wheel, pressure, or blade choice is off, and many people blame the tile when it’s really the cutter setup.
This guide breaks down what actually matters in 2026, how to match a cutter to your tile and layout, and a quick decision table you can use before you click “buy.” I’ll also include a short technique section, because even great tools cut poorly when the basics are skipped.
Quick pick: which tile cutter type fits your ceramic project?
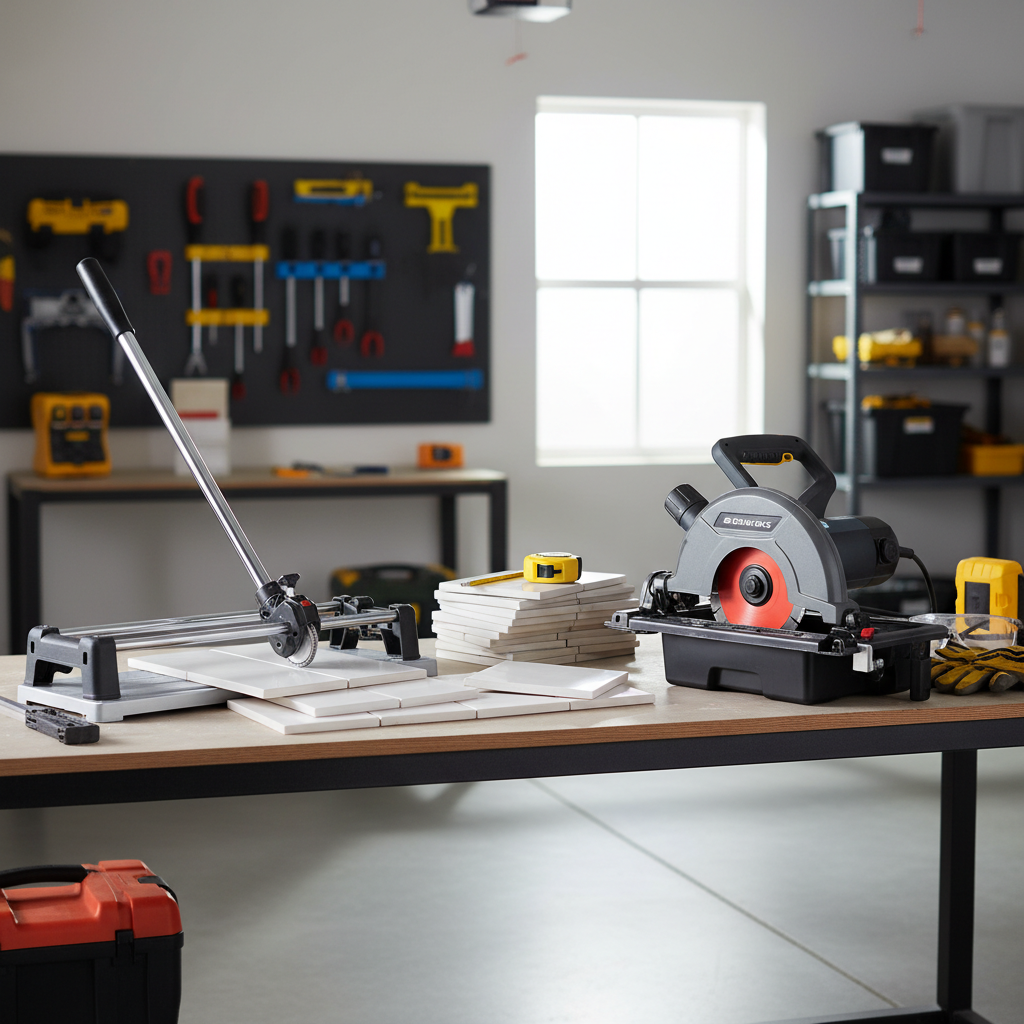
If you want the fastest way to narrow in on the best tile cutter for ceramic tiles, start with the tool category. Most homeowners land in one of these lanes.
| Project reality | Best cutter type | Why it works | Watch-outs |
|---|---|---|---|
| Mostly straight cuts, 3x6 to 12x24 wall/floor tile | Manual score-and-snap cutter | Fast, clean, low mess, no water | Not great for notches, tiny slivers, or thick/very hard tile |
| Lots of L-cuts, outlets, door jambs, narrow rips | Wet tile saw (diamond blade) | Handles complex cuts with control | Setup, water splash, blade selection matters |
| Curves for toilet flange, pipes, odd shapes | Angle grinder + diamond blade (plus safety gear) | Curves and shaping that cutters can’t do | Dust and kickback risk, needs practice |
| Small tweaks, nibbling corners, mosaic adjustments | Tile nippers / rubbing stone | Cheap, precise in tiny areas | Slow, edges need smoothing |
Key takeaway: if your layout is simple, a quality manual cutter is usually the most efficient choice. If you see multiple obstacles in every row, you’ll save time (and tiles) with a wet saw.
What makes a “good” ceramic tile cutter in real use
Specs matter, but not all specs matter equally. The things below are what you feel after 20 cuts, not what you notice in a product photo.
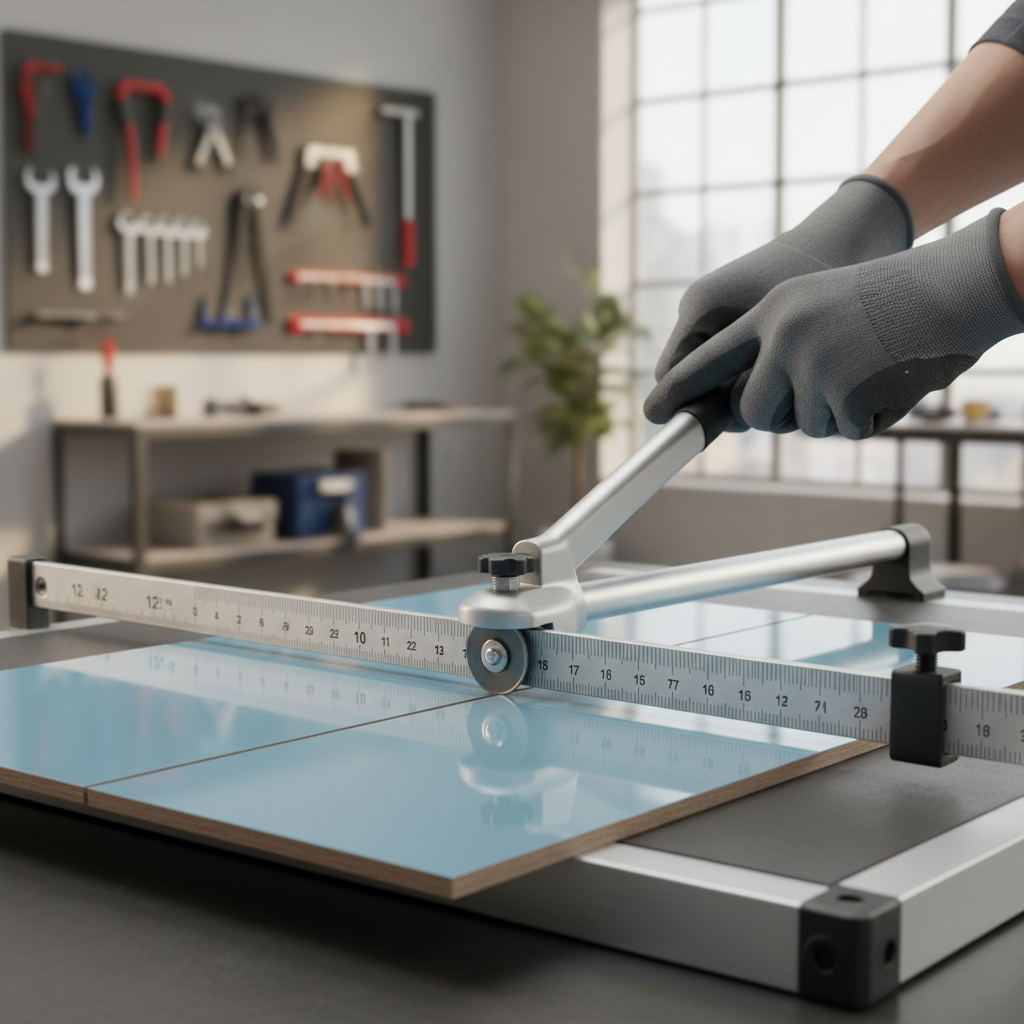
For manual score-and-snap cutters
- Rigid base and rails: flex causes wandering scores and uneven snapping.
- Quality scoring wheel: a clean score line is the difference between “snap” and “chip.” Look for carbide/tungsten wheels and easy replacement.
- Fence accuracy and repeatability: you want to set a measurement and trust it for a whole run.
- Breaking mechanism feel: smooth pressure, not a sudden crush, tends to reduce glaze chipping.
- Tile size capacity: buy for your largest tile, not your smallest, especially with 12x24 and 24x24 formats.
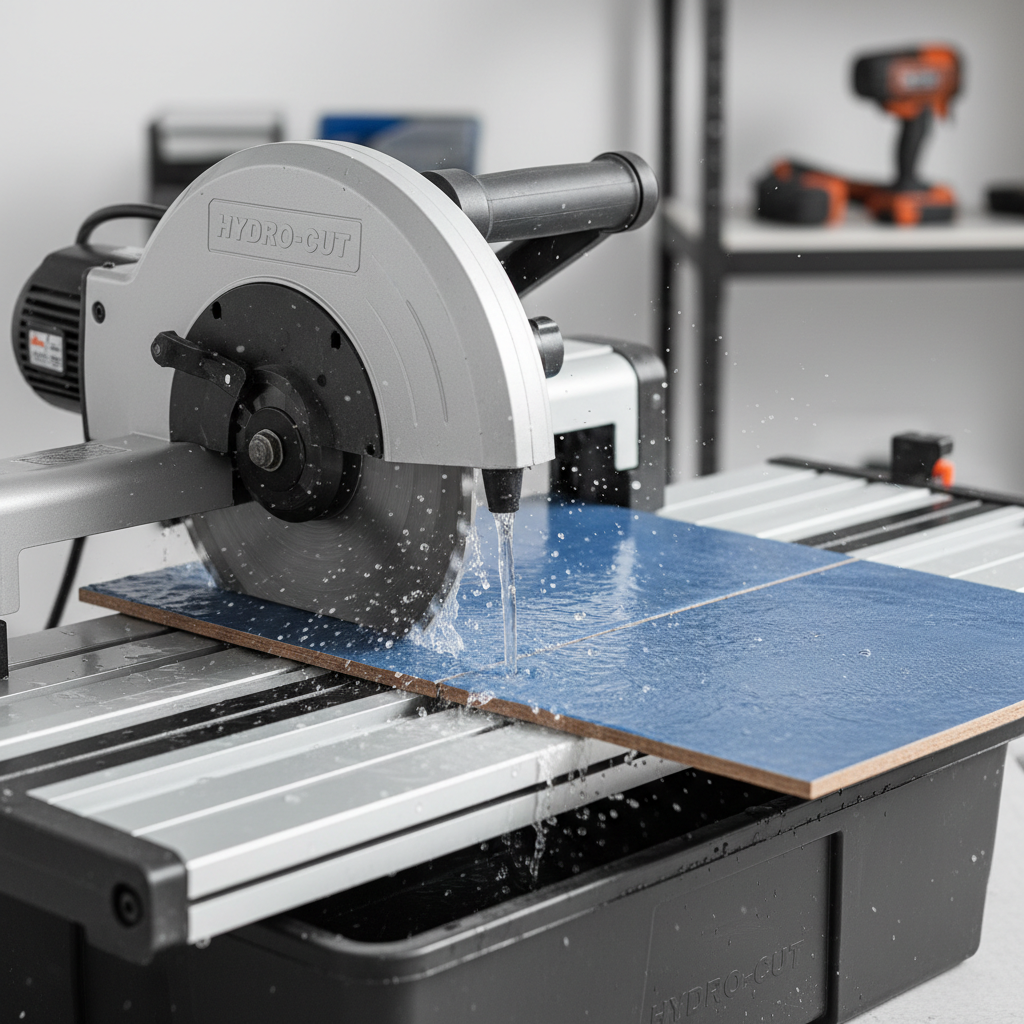
For wet saws
- Stable sliding table or stable tray: wobble shows up as a wavy edge.
- Blade quality and blade match: a continuous rim diamond blade usually gives cleaner ceramic edges than a segmented blade.
- Water delivery: consistent water flow cools the blade and can reduce chipping.
- Fence/miter guides you actually use: if guides feel flimsy, you’ll freehand and accuracy drops.
Self-check: are you a manual cutter buyer or a wet saw buyer?
Most “I bought the wrong tool” stories are predictable if you answer these honestly.
- How many cuts? Under ~50 mostly-straight cuts often favors a manual cutter. Hundreds of cuts can justify a saw for speed and consistency.
- How visible are the edges? If edges will be exposed (outside corners, niche trims), you may want a wet saw for cleaner edges and better control.
- Any L-cuts every few tiles? Outlets, vents, jambs, cabinet legs, and transitions push you toward a saw.
- Tile thickness and hardness? Ceramic is usually fine on manual cutters, but some dense body tiles behave closer to porcelain.
- Working space? Apartments and finished interiors often prefer manual cutters because wet saws bring water management.
If you’re split down the middle, a practical combo is: manual cutter for straight production cuts, plus an inexpensive 4-inch angle grinder or a small wet saw rental for special cuts. That mix often beats forcing one tool to do everything.
Technique matters: how to get clean cuts on ceramic
Even if you pick the best tile cutter for ceramic tiles for your situation, results still hinge on a few habits. These are the ones installers tend to notice right away.
Manual cutter technique (score-and-snap)
- One firm score, not five light passes: multiple passes can flake the glaze and widen the score line.
- Pressure consistency: start steady, keep the handle pressure consistent, and avoid “digging in” at the end.
- Keep the tile fully supported: if the tile rocks, the snap line can drift.
- Snap with confidence: a hesitant snap often creates micro-chips along the glaze.
Wet saw technique
- Let the blade cut: pushing hard can chip the glaze and deflect the cut line.
- Check water flow before every session: a dry pass overheats fast and increases chipping risk.
- Use painter’s tape on the cut line (sometimes): it can reduce surface chipping on glossy tiles, though results vary by tile.
- Dress the blade if cuts get rough: a dressing stone can expose fresh diamonds when the blade feels “glazed.”
Recommended “feature sets” to shop for in 2026
I’m not going to pretend one brand fits everyone, but you can shop smarter by looking for feature sets that correlate with fewer problems.
If you’re buying a manual cutter for typical ceramic wall/floor tile
- 24-inch class capacity even if your tile is smaller, because layouts change and big tiles are common.
- Replaceable scoring wheel with readily available parts.
- Clear measurement markings and a fence that locks without creeping.
- Solid base that sits flat without wobble.
If you’re buying a wet saw for ceramic (and occasional porcelain)
- Continuous rim diamond blade included or budget for an upgrade.
- Decent splash control and a tray that’s easy to clean, because slurry buildup is real.
- Accurate fence you can square quickly.
- Reasonable motor stability with less vibration, since vibration shows up as chipping.
Common mistakes that waste tiles (and how to avoid them)
Most chipping complaints come from a short list of issues. Fixing them is usually cheaper than returning tools.
- Using the wrong blade: a rough blade can chip ceramic edges even if the saw is fine. Continuous rim blades are a safer starting point for glaze.
- Dull scoring wheel: if a manual cutter suddenly needs more force, the wheel may be worn.
- Trying to snap tiny slivers: very narrow rips often break unpredictably on manual cutters, a wet saw tends to behave better.
- Skipping edge finishing: a rubbing stone or diamond hand pad makes cuts look more “pro,” especially at transitions.
- Not planning the layout: the tool can’t save a layout that forces 1/4-inch slivers along a focal wall.
According to OSHA, silica dust from cutting masonry products can be hazardous, so when you use dry-cut tools like angle grinders, dust control and respiratory protection are worth taking seriously. If you’re unsure what protection is appropriate for your workspace, it’s reasonable to consult a qualified professional.
When it’s worth getting help or renting instead of buying
Buying your own cutter feels efficient, but there are times renting or hiring a tile pro is the more comfortable choice.
- Large format tile with many obstacles: you may benefit from a higher-end saw and experience keeping cuts square.
- High-visibility finishes: glossy ceramic, decorative edges, or places where chipped glaze will catch your eye every day.
- Time pressure: if you have one weekend, rentals can give you better capability without committing to a tool you won’t use again.
- Safety concerns: if dust control, water management, or electrical safety feels uncertain, asking for help is not overkill.
Conclusion: choosing the best ceramic tile cutter without overbuying
The “right” pick is usually simple: choose a solid manual score-and-snap cutter for mostly straight ceramic cuts, and choose a wet saw when the room forces notches, rips, and fussy details. If you’re torn, prioritize your layout complexity over the tile material name on the box, that’s where most tool regret starts.
Action steps: measure your largest tile, count how many L-cuts you expect, then decide whether you need speed and simplicity (manual cutter) or flexibility and precision (wet saw). Once the tool matches the job, the rest is mostly technique and patience.