
Tie rod end puller tool is one of those things you don’t think about until a tie rod end refuses to separate, the boot starts tearing, and your “quick job” turns into an hour of hammering and stress.
If you work on steering and suspension even occasionally, having the right puller saves time and reduces the odds you’ll damage threads, rip dust boots, or mushroom the stud, all common ways this job gets more expensive than it needs to be.
This guide breaks down which puller style fits which situation, what to check before you start, and a practical step-by-step approach that matches how the job goes in a real garage, not a perfect lab.
What a tie rod end puller tool actually does (and why it beats “hammer time”)
A tie rod end is a tapered stud pressed into a tapered seat in the steering knuckle. That taper locks tight under load, so even after you remove the nut, the stud often stays wedged in place.
A puller applies controlled force right where it matters, pushing the stud out of the taper without relying on shock blows. In many cases that means:
- Less risk to the steering knuckle compared with repeated hammer hits near the taper
- Less thread damage because you’re not beating on the stud end
- Better odds of keeping the dust boot intact, especially if you plan to reuse the part
According to NHTSA, steering and suspension components are safety-critical systems; if you’re unsure about a repair quality or component condition, it’s usually smarter to consult a qualified technician rather than “send it” and hope.
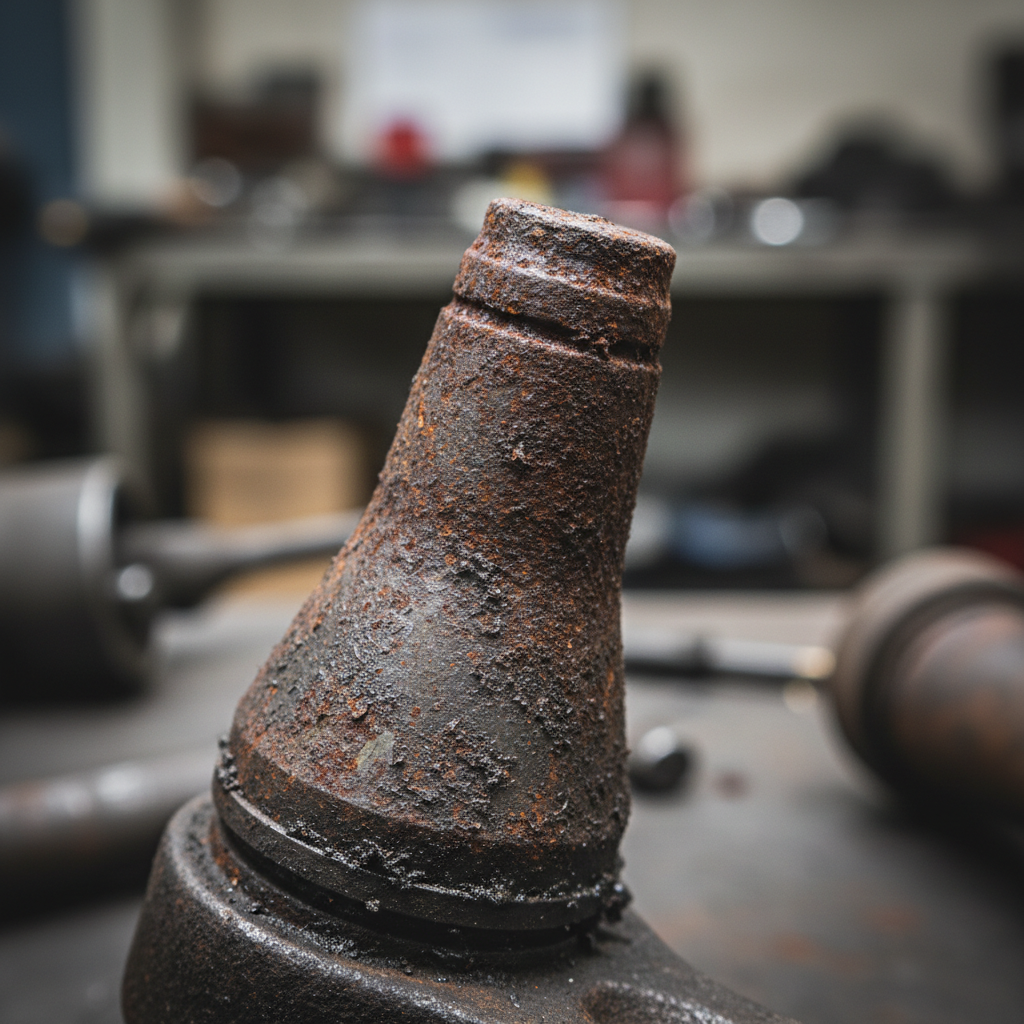
Common reasons tie rod ends won’t separate easily
When the joint feels fused, it’s usually not your strength, it’s physics and corrosion. The usual culprits:
- Rust in the taper: moisture creeps into the taper seat and essentially bonds the surfaces
- High clamp load over time: that taper self-locks tighter with miles and steering forces
- Deformed threads or mushroomed stud: past hammering can flare the tip, making it stick even more
- Aftermarket geometry differences: some studs and knuckles fit tighter than others, even when “correct”
One more real-world detail, cramped access changes everything. If you can’t get a puller square on the joint, even a good tool will feel weak.
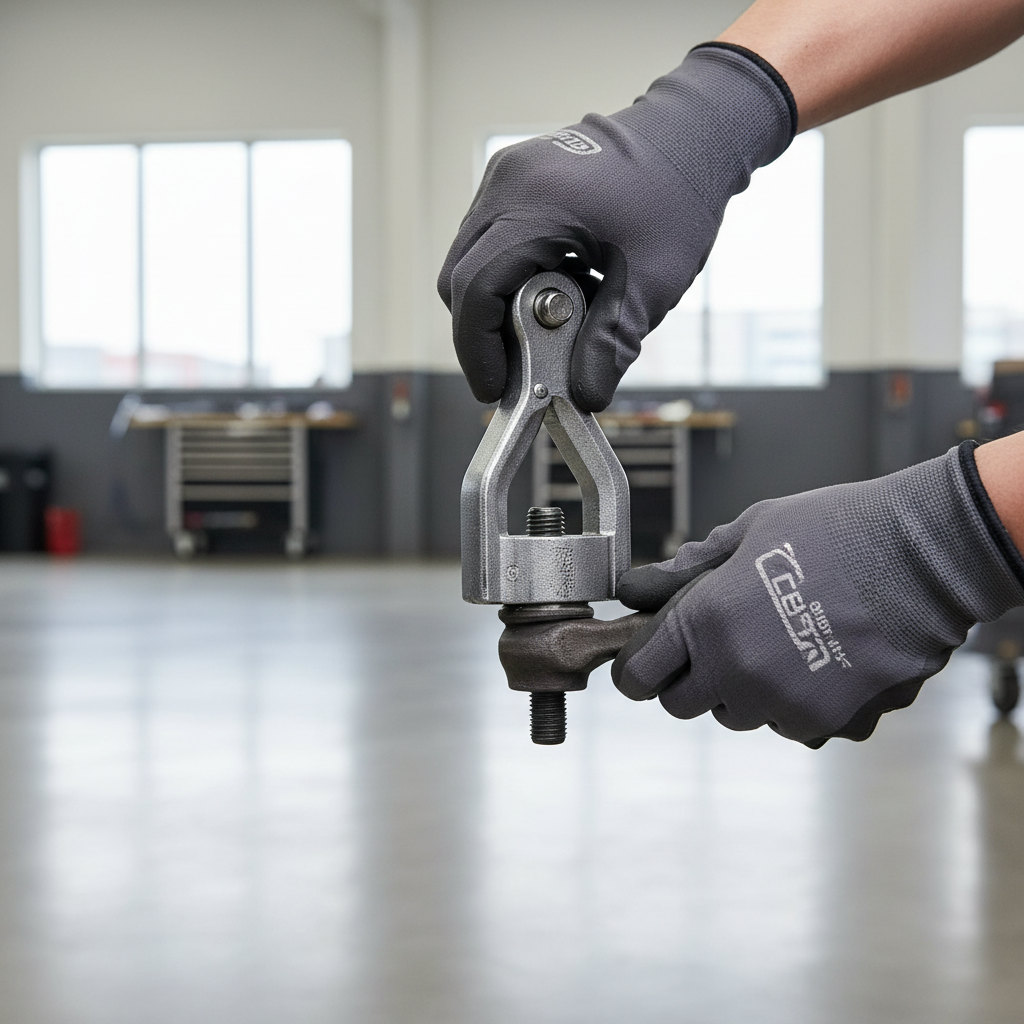
Choosing the right puller: styles, fit, and when each makes sense
Not all pullers behave the same. The right pick depends on clearance, whether you’re reusing the tie rod end, and how stubborn the taper feels.
Quick comparison table
| Tool type | Best for | Pros | Watch-outs |
|---|---|---|---|
| Scissor / “tie rod end puller” style | Most passenger cars, decent access | Controlled force, often boot-friendly | Needs room around the knuckle, jaw size must match |
| Pitman arm / gear puller style | Tight tapers, heavier joints | Strong, stable push | May not fit small knuckles, can contact boot |
| Pickle fork (separator fork) | When you’re replacing the tie rod end anyway | Fast, works in tight spots | Usually destroys the boot, may damage reusable joints |
| Ball joint press-style adapters (less common) | Special cases, limited swing space | Very controlled | Setup time, adapter fit varies by vehicle |
What to look for before buying
- Jaw opening and throat depth: measure the knuckle area, not just the stud
- Forcing screw size: larger screws typically survive stubborn tapers longer
- Replaceable tips: helpful if you work often and don’t want a worn screw end
- Material and finish: forged or heavy-duty steel matters more than fancy coating
If you’re only doing one job, a loaner tool program can be practical. If you touch steering parts regularly, buying a solid tie rod end puller tool pays back fast in frustration avoided.
Quick self-check: are you set up for a clean removal?
Before you start cranking on anything, this checklist saves time and prevents the “why won’t it move” loop.
- Nut removed, but left flush with the stud or a couple threads on, to protect threads
- Penetrating oil applied at the taper seat and given time to work
- Puller jaws sit square on the knuckle, not riding on a rounded edge
- Forcing screw aligns with the stud centerline, no obvious side load
- Boot and ABS wire routing checked, so the tool won’t pinch anything
If any item looks off, fix that first. Most “impossible” joints start moving once the puller sits straight.
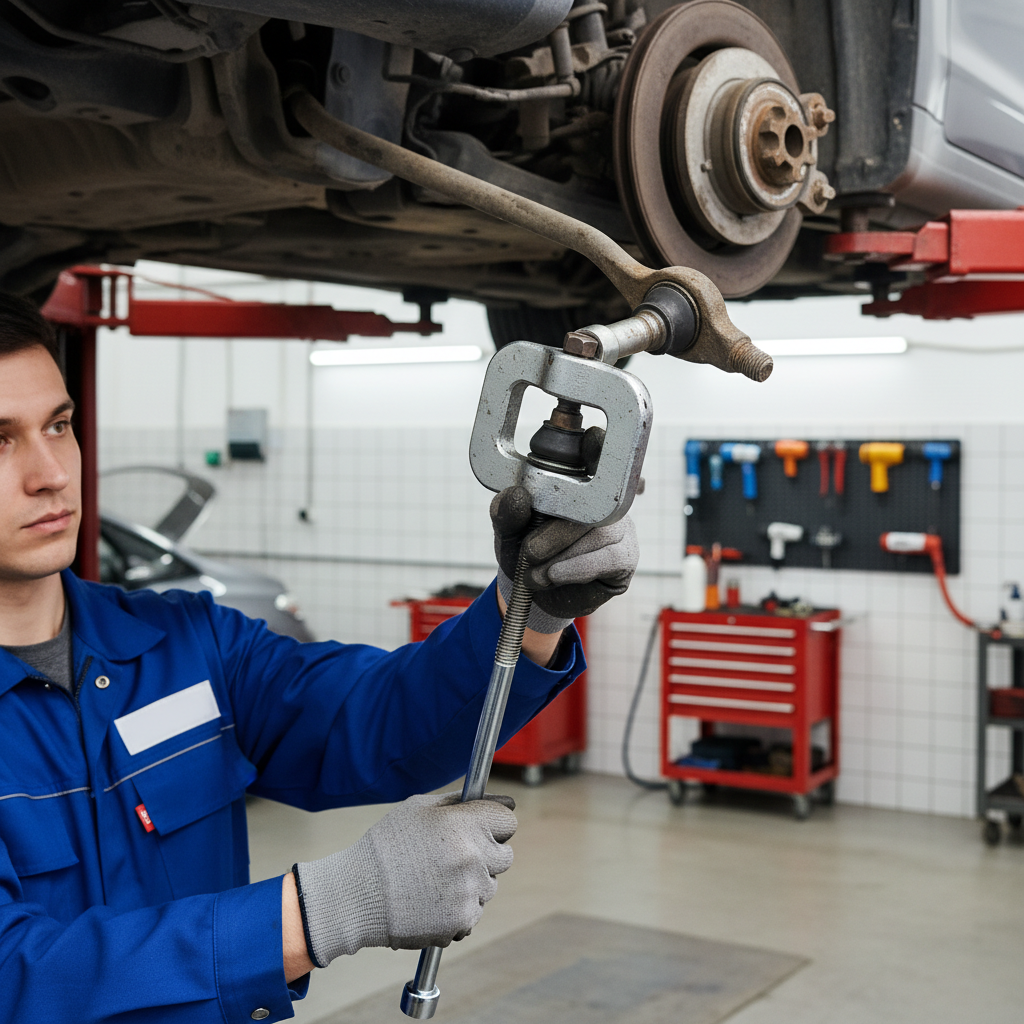
How to use a tie rod end puller tool (step-by-step, realistic version)
This is the approach that tends to work without drama. Exact steps can vary by vehicle, so check the service manual if anything looks different on your knuckle design.
1) Prep the joint like you mean it
- Clean rust scale from the taper area with a wire brush so the puller seats fully.
- Apply penetrating oil around the taper seat, then wait a bit; impatience costs time later.
- Back the nut off and leave it slightly on the stud, enough to catch the part when it pops free.
2) Seat the puller correctly
- Place the jaws on solid knuckle surfaces, avoid thin lips that can flex.
- Center the forcing screw on the stud end; if it’s off-center, you’ll fight binding.
- Add a dab of grease to the forcing screw threads if the tool is dry, smoother turning helps.
3) Apply force in short cycles
- Tighten the forcing screw until it’s snug and loaded, then pause and reassess alignment.
- Turn in small increments; many tapers “pop” suddenly, so keep fingers clear.
- If it’s stubborn, maintain tension and tap the knuckle near the taper (not the stud) with a hammer, light but sharp.
4) If it still won’t release
- Recheck jaw placement, most failures come from the puller riding crooked.
- Reapply penetrating oil and give it more time.
- If you’re replacing the joint anyway, a pickle fork becomes a reasonable escalation.
Key point: If you feel the tool flexing hard or the forcing screw starts to gall, stop and rethink. Breaking a puller under load can cause sudden movement and injury.
Mistakes that waste time (or break parts) more than people admit
- Cranking while misaligned: it feels like progress until something snaps or bends.
- Hammering the stud end: this can deform threads, then the nut won’t run back on cleanly.
- Ignoring the boot: even if you don’t care about reuse, torn boots spread grease and grit.
- Using heat without thinking: heat can help in some cases, but it also risks nearby rubber, sensors, and finishes; if you’re not confident, skip it.
According to OSHA, eye protection is a basic requirement around impact and flying debris hazards; in this job, that “pop” and any rust flakes can be more aggressive than you expect.
When you should consider professional help
There’s no shame in handing this off when the risk outweighs the savings. Consider a shop if:
- The steering knuckle is aluminum and you’re unsure about impact or heat choices.
- The stud spins freely and you can’t maintain clamp load, sometimes indicating a failing joint.
- You need an alignment right after, which is common after tie rod work.
- You see cracks, heavy corrosion, or a damaged taper seat in the knuckle.
Steering is a safety system. If anything about the joint or knuckle condition feels questionable, a qualified technician can confirm what’s reusable and what’s not.
Conclusion: the practical way to make removals predictable
A good tie rod end puller tool turns a frustrating removal into a controlled, repeatable step, especially when you take two minutes to clean, align, and load the tool correctly before going full force.
If you want a simple next move, start by matching puller jaw size to your knuckle clearance, then practice the “tension and tap the knuckle” rhythm on your next job, it’s often the difference between stuck and released.
FAQ
What’s the best tie rod end puller tool for most DIYers?
For many passenger cars, a scissor-style puller is the most versatile because it applies straight push force and often avoids tearing the boot, assuming you have enough clearance around the knuckle.
Can I remove a tie rod end without a puller?
Sometimes, yes, a well-placed strike to the knuckle near the taper can release it, but success varies and the chance of thread damage goes up. If you do this more than once, a puller usually saves time.
Will a pickle fork damage the tie rod end?
In many cases it will, mainly by ripping the dust boot and stressing the joint. If you’re replacing the part anyway, that tradeoff might be acceptable, but it’s not ideal for reuse.
Why does the tie rod end “pop” loudly when it releases?
The taper fit stores energy under load. When friction finally breaks, it releases suddenly, which can sound dramatic even when nothing is wrong.
Should I leave the nut on while using the puller?
Usually, leaving the nut flush with the stud end or a couple threads on helps protect threads and prevents the tie rod end from dropping when it releases. Exact practice can depend on tool style and access.
My puller keeps slipping off—what am I doing wrong?
Most slip-offs come from jaws sitting on a rounded edge or the forcing screw pushing at an angle. Cleaning the contact area and repositioning squarely often fixes it.
Do I need an alignment after replacing a tie rod end?
Many situations call for at least a toe check, and often a full alignment, because tie rod length affects steering geometry. If tire wear matters to you, plan for alignment rather than guessing.
If you’re dealing with repeated steering work, or you’re tired of fighting tapers in tight spaces, choosing a puller that actually fits your knuckle and having a simple, safe removal routine can make the whole job feel far less unpredictable.