
Carpet cutter tool straight is the phrase people search when they’re tired of wandering cuts, frayed edges, and seams that never seem to land where the chalk line says they should. If you install carpet even occasionally, you already know how quickly a small drift turns into visible gaps, extra trimming, and wasted material.
What makes a straight-cut tool worth thinking about is simple, it removes decision fatigue. Instead of constantly correcting your wrist angle, you let the tool ride a guide and focus on pace, pressure, and safety. The result is usually a cleaner seam and fewer “patch fixes” at doorways and transitions.
There’s also a common misconception worth clearing up, straight cutters don’t magically fix bad layout. If the room is out-of-square or your seam plan is off, the cut can be perfectly straight and still be wrong. This guide helps you choose the right style, set it up, and use it in a way that actually translates into better installs.
What a “straight” carpet cutter tool really does
A straight-cut carpet tool is any cutter designed to track in a predictable line, usually by riding an edge, a guide bar, a straightedge, or a built-in fence. The goal is repeatability, you want the second cut to match the first cut without “eyeballing” the distance.
In practical terms, it helps most on seam edges, long hallway runs, and wall-trim cuts where a little wave shows up immediately once the carpet is stretched.
- Cleaner seam joins because both edges stay consistent over length.
- Less over-trimming so you keep more usable carpet.
- Better control when cutting dense pile, berber, or thick pad-backed carpet.
Why straight cuts go wrong (even with good hands)
Most uneven cuts come from a few repeat offenders, and they show up even on experienced crews when the pace gets fast.
- Blade drag and dull edges: a blade that feels “okay” can still pull fibers sideways, especially on higher pile.
- Inconsistent pressure: pressing harder mid-cut makes the tool wander, pressing too light can skip backing.
- No reliable reference: cutting freehand off a faint mark turns into micro-corrections, and micro-corrections create curves.
- Carpet tension and memory: carpet can shift slightly as you move, especially if it’s not weighted or staged.
According to OSHA, lacerations from hand tools and blades are a frequent jobsite hazard, which is why it’s not just about cut quality, it’s also about controlling the tool and reducing slip risk. If you find yourself forcing the cut, that’s often the moment accidents happen.
Quick self-check: Do you need a straight cutting setup?
If you’re unsure whether to change tools or just change technique, this checklist usually makes the answer obvious.
- You often trim seams twice because the first pass “doesn’t line up.”
- You see daylight at a seam edge before seaming tape goes down.
- You avoid long cuts and break them into short sections to “stay accurate.”
- Your offcuts look wavy when laid against a straightedge.
- You burn time cleaning fuzzy edges with extra passes.
If two or more feel familiar, a carpet cutter tool straight approach, meaning tool plus guide plus blade habits, tends to pay for itself in reduced rework, even for DIY installs.
Choosing the right straight carpet cutter tool (and why it depends)
There isn’t one universal “best” cutter because carpet types, subfloor conditions, and seam strategy change the demands. Use this table as a practical comparison, not a rigid rule.
| Tool/Setup Type | Where it shines | Watch-outs |
|---|---|---|
| Hook blade in a quality knife + straightedge | Seam edges, controlled long cuts | Needs firm straightedge, blade changes often |
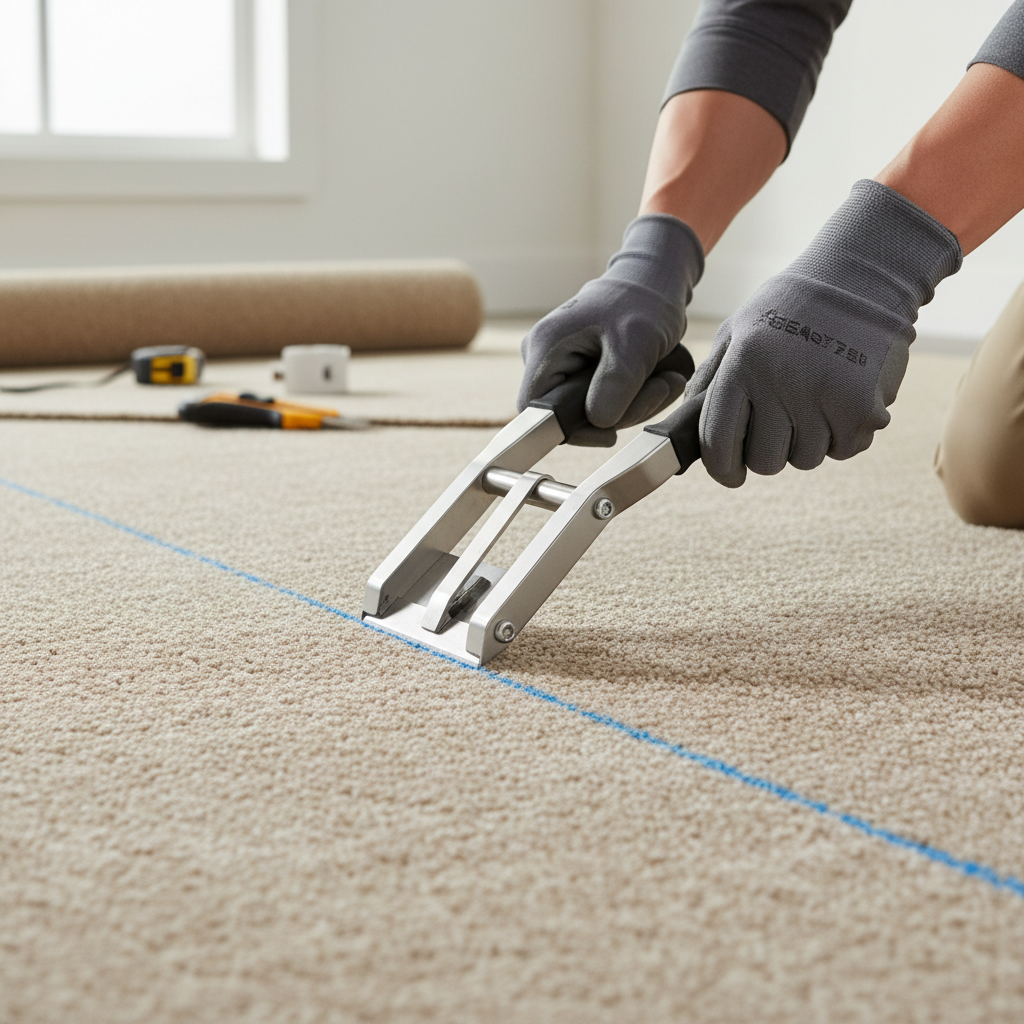
| Carpet trimmer with guide (wall/edge trimming) | Along walls, baseboards, tack strip lines | Can gouge if angle is wrong, practice first |
| Loop pile/berber cutter tools | Berber and loop pile alignment | Wrong tool can snag loops, do test cuts |
| Track/rail-guided cutting system | Repeatable long straight runs, higher volume work | Setup time, storage, higher upfront cost |
For many homeowners, the most realistic “straight system” is a solid knife, fresh hook blades, and a long straightedge that doesn’t flex. For frequent installs, guided systems can reduce fatigue and improve repeatability, but only if you actually use the guide every time.
How to make straighter cuts: a repeatable workflow
This is the part people skip because it feels slower, but it’s usually where straightness is won.
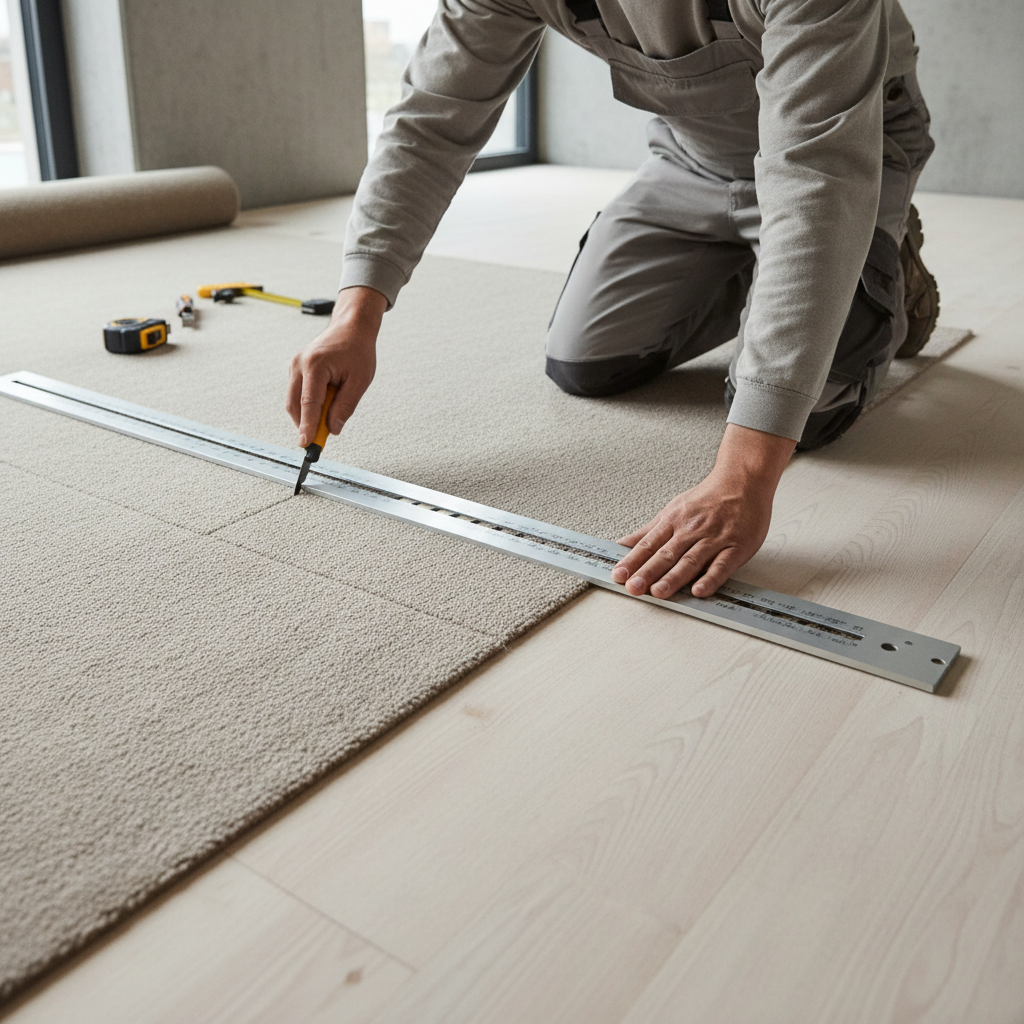
1) Mark and anchor your reference
- Snap a chalk line where possible, or use a rigid straightedge aligned to a measured reference.
- Weight the carpet to prevent creep, offcuts, knee kicker, or toolboxes can work.
- Confirm the line with two measurements, especially near doorways where trim reveals mistakes.
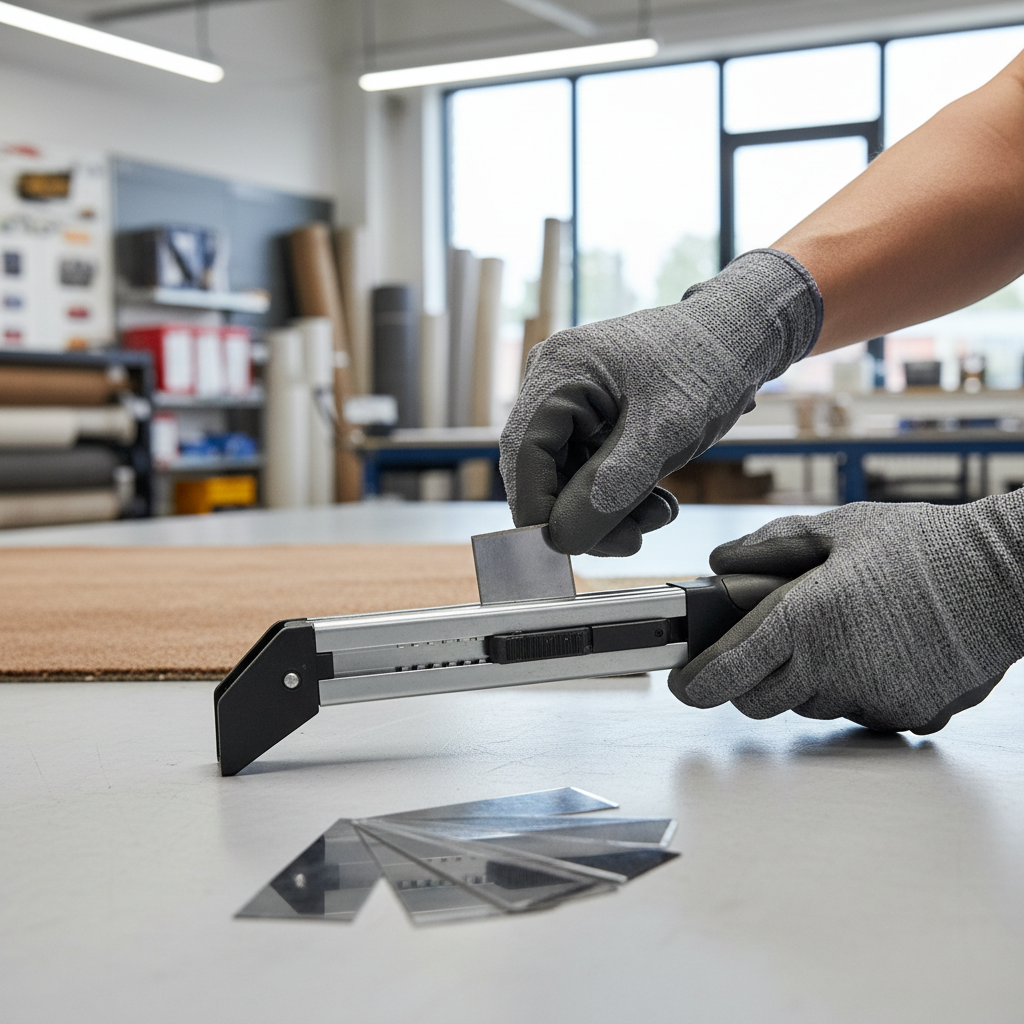
2) Choose the blade style that matches the cut
- Hook blades typically track backing well and reduce surface snagging.
- Straight blades can work, but may wander more in thick pile if pressure changes.
If the cut starts to feel “sticky,” swap blades earlier than you think. Most jagged seams I see trace back to trying to squeeze a few more feet out of a blade.
3) Cut in controlled passes, not heroic strokes
- Start with a light scoring pass to establish the path.
- Follow with one or two deeper passes to finish through backing.
- Keep your wrist neutral, move your body, not just your hand.
When you treat a carpet cutter tool straight setup as a process rather than a single tool purchase, you get the real benefit, consistent seam edges that don’t need constant correction.
Practical install scenarios (what to do, not just what to buy)
Seam cutting for two pieces that must meet cleanly
- Cut both edges using the same straight reference, don’t assume factory edges are seam-ready.
- Dry-fit the seam, check for gaps, then recut a hair only where it truly needs it.
- Keep pile direction consistent, straight edges won’t hide a direction mismatch.
Doorways and transitions
- Measure twice, then cut slightly long, final trim at the threshold is easier than patching short.
- If you’re working near metal transition strips, avoid cutting into hardware, blade deflection can happen.
Cutting against baseboards and tack strip
- Leave enough material for tuck, cutting too tight makes stretching harder.
- Use a wall trimmer only if you can keep it flat and stable, otherwise a guided knife cut can be safer.
Common mistakes that waste carpet (and how to dodge them)
- Chasing the line mid-cut: if you drift, stop and reset the guide rather than “steering back.”
- Cutting on a soft surface without support: thick pad underneath can make the blade dive and wander, a firm cutting surface helps.
- Overconfidence with speed: fast looks pro, but speed without a reference creates waves.
- Ignoring blade angle: an angled blade can undercut backing and leave a fuzzy edge that won’t seam cleanly.
Also, avoid the habit of making multiple cleanup passes on a seam edge, it often rounds the edge and can create a visible seam later.
When to consider a pro installer (or at least pro advice)
If you’re dealing with expensive patterned carpet, complex stairs, or large seams in high-traffic areas, it can be worth getting a professional involved. A straight cutter helps, but layout, power stretching, and seam sealing technique often determine whether the job lasts.
According to the Carpet and Rug Institute, proper installation practices influence appearance retention and long-term performance. If you’re unsure about seam placement, adhesive choices, or stretching, a brief consult with an experienced installer may prevent costly rework.
Key takeaways before you cut
- Straightness comes from a system: guide + blade + controlled passes.
- Swap blades early, forcing the cut usually hurts quality and safety.
- Test on a scrap when carpet type changes, especially loop pile.
- Measure and reference beat “eyeballing” every time.
If you want cleaner seams and fewer do-overs, start by improving your reference and blade habits, then decide whether you need a dedicated straight-guided tool.
Conclusion: getting straight cuts without fighting the material
A carpet cutter tool straight setup is really about control, you’re building a repeatable cut that matches your layout instead of reacting to drift after it happens. Once you commit to a solid guide, fresh blades, and multi-pass cutting, seam edges tend to look sharper and installation feels less stressful.
Your next move can be simple: pick one straight reference method you’ll use every time, then run a few practice cuts on scrap before touching the seam that matters.
FAQ
What blade is better for straight carpet cuts, hook or straight?
Many installers prefer hook blades for seam edges because they track backing well and snag the surface less. Straight blades can still work, but they often demand steadier pressure to avoid wandering.
How do I keep my straightedge from slipping while cutting carpet?
Use a longer, rigid straightedge, add weight, and make a light scoring pass first. If it still shifts, your surface may be too soft, or you’re pushing sideways into the guide.
Can a carpet cutter tool straight setup help with Berber?
It can, but Berber and loop pile are less forgiving, snagging is a real risk. Test on scrap, consider tools designed for loop pile alignment, and cut with controlled, shallow passes.
Why does my cut look straight until I open the seam?
This often happens when the cut angles through the backing, so the top edge looks fine but the mating edge doesn’t match. Keeping blade angle consistent and using a guide usually fixes it.
Do I need a track-guided cutter for DIY carpet installation?
Not always. If you only have a few straight cuts, a good knife, fresh hook blades, and a solid straightedge can get you close. Track systems make more sense when you have long runs or repeated work.
How often should I change blades when cutting carpet?
There’s no perfect interval, because carpet density varies, but change when you feel drag, see fraying, or need extra force. If you’re thinking “one more cut,” it’s usually time.
Is cutting carpet dangerous?
It can be, blades slip and cuts happen quickly. Use gloves when appropriate, cut away from your body, and keep fingers clear of the path, if you’re unsure about safe handling, ask a professional or follow manufacturer safety guidance.
If you’re working on a room where seams must look clean, or you just want a more predictable workflow, it may help to choose a straight-guided cutting method and build a small kit around it, straightedge, the right blades, and a cutter that feels stable in your hand.