
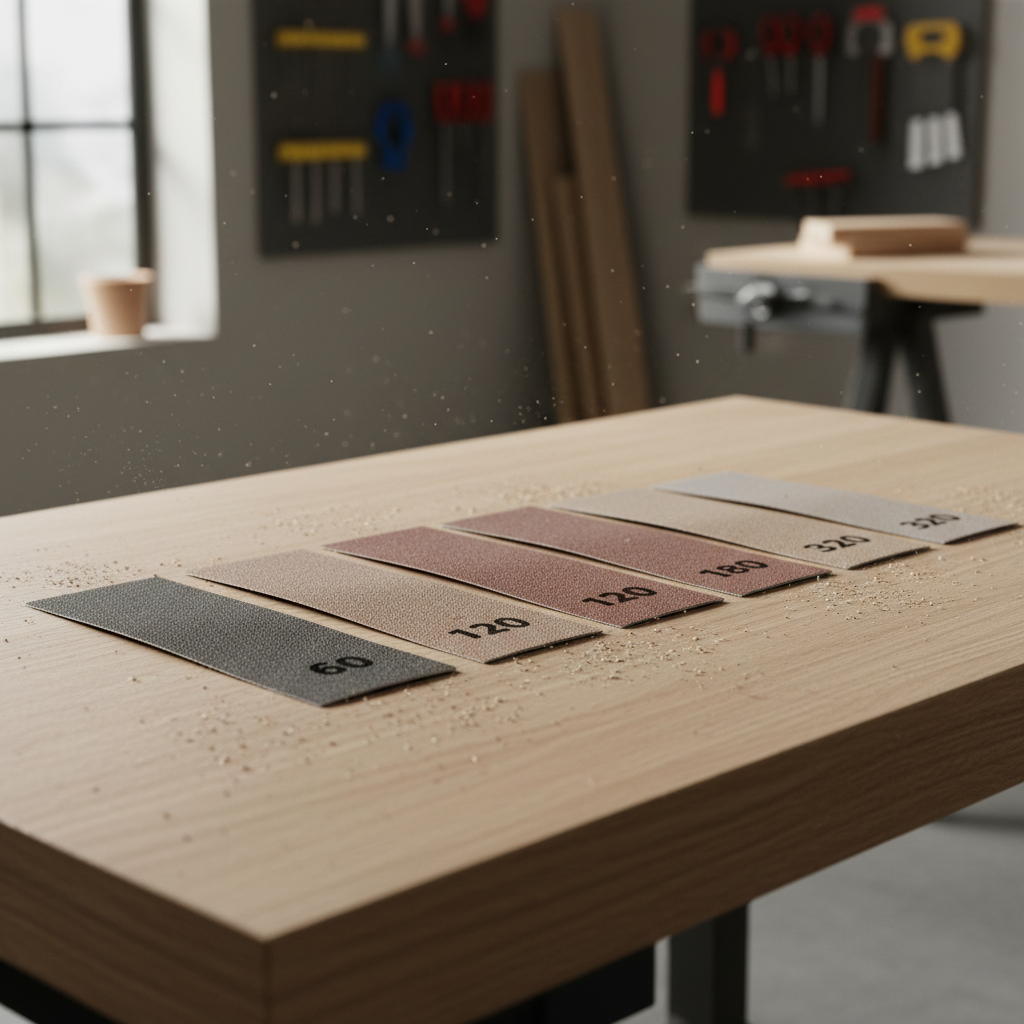
sandpaper assortment grits sound simple until you’re mid-project, the surface looks scratched, and you realize “80 vs 120 vs 220” isn’t just a number game.
If you buy assorted packs, you’re usually trying to cover a lot of jobs with one purchase, paint prep, woodworking, drywall touch-ups, even metal. The value is real, but only if you know what each grit is supposed to do, and when to stop sanding and move on.
This guide breaks down grit ranges in plain English, shows a practical grit progression, and gives you a quick “what to grab” checklist so your sanding feels predictable instead of guesswork.
What “Grit” Actually Means (and why it changes your result)
Grit is the size of the abrasive particles bonded to the paper. Lower numbers have larger particles that cut faster and leave deeper scratches. Higher numbers cut slower and leave smaller scratches that are easier to hide under paint, stain, or clear coat.
One easy way to think about it: coarse grits shape, medium grits refine, fine grits prepare for finish. If you skip steps, you often spend extra time trying to erase scratches that a better progression would have avoided.
According to OSHA, sanding can create airborne dust that may irritate eyes and lungs, so ventilation and a properly fitted respirator are usually worth the hassle, especially on older paint or unknown materials.
Why assorted grit packs are popular (and where they trip people up)
Assortment packs solve a real problem: most DIY projects need more than one grit. You might strip a damaged edge with a coarse sheet, smooth it with a medium sheet, then prep for paint with a fine sheet.
Where people get stuck is expecting “one grit that works.” In reality, sanding is a sequence. The right grit depends on the starting condition, not your end goal. A tabletop with deep dents needs a different first step than a brand-new board with raised grain.
- Common win: you can step through grits without a separate trip to the store.
- Common trap: you use a too-fine grit early, it loads up fast, and you waste sheets without flattening the surface.
- Another trap: you start too coarse, then chase visible scratches for the rest of the job.
Grit ranges explained: what to use and what to expect
Most sandpaper assortment grits cover a range like 60–400, sometimes with fewer “in-between” options. Here’s what each range typically does in real projects.
Coarse (40–80): fast removal, visible scratches
Use this range when you need to remove material: leveling uneven wood, knocking down thick paint drips, shaping filler, or removing rust scale. It’s aggressive, and it can leave scratches that show through finishes if you don’t follow with finer grits.
Medium (100–150): smoothing and correcting
This is your “get it under control” zone. Great for removing coarse scratches, general wood smoothing, and feathering edges before primer. If you’re sanding between coats of paint, this might still be too aggressive unless you’re fixing defects.
Fine (180–240): prep for paint and many clear coats
For a lot of interior trim and furniture prep, 180–220 is a common stopping point before paint or some clear finishes, depending on the product and the look you want. Very hard woods or glossy finishes may need different choices.

Very fine (320–600+): between coats and polishing prep
These grits are for smoothing finishes rather than shaping material. Think between clear-coat layers, nib-sanding dust, or prepping for polishing. They’re also useful on delicate materials where coarse scratches would be hard to hide.
A practical grit progression (the part that saves time)
The most reliable way to use assorted packs is to pick a starting grit based on damage, then move up in steps. Big jumps can work sometimes, but they often cost more time than they save.
- Heavy damage or stripping: 60 → 80 → 120 → 180 → 220
- General smoothing on new wood: 120 → 150 → 180 (optionally 220)
- Paint prep on trim (existing paint): 150 → 180 (spot 220 for edges)
- Between clear coats: 320 or 400 (confirm with finish instructions)
Two small rules that prevent a lot of frustration: don’t move up until the previous scratch pattern looks uniform, and wipe or vacuum the surface between grits so stray coarse particles don’t carve new scratches.
Quick selection table: pick the grit by task
If you want a faster “just tell me what to start with” answer, use this as a baseline, then adjust for your material and finish.
| Task | Start | Finish | Notes |
|---|---|---|---|
| Level rough-sawn lumber | 60–80 | 180–220 | Stop earlier for rustic look, go finer for paint/clear |
| Prep bare wood for paint | 120 | 180–220 | Too fine can reduce adhesion for some coatings |
| Feather chipped paint edge | 120–150 | 180–220 | Prime after sanding, especially where bare substrate shows |
| Drywall patch blending | 120 | 180 | Use light pressure, drywall sands fast |
| Between polyurethane coats | 320 | 400 | Follow product directions, avoid sanding through edges |
| Remove light rust on metal | 80–120 | 180–240 | Consider rust converter or primer system after prep |
Self-check: which sanding situation are you in?
Before you tear open another sheet, do this quick read on your surface. It makes grit selection feel obvious.
- You can feel ridges, drips, or filler highs: start coarse enough to level, usually 60–100.
- The surface is flat but looks fuzzy or dull: start medium, often 120–150.
- You see scratches after “finishing grit”: you probably jumped too far, go back one step and re-uniform the scratch pattern.
- Paper clogs quickly: grit may be too fine for the job, or the surface has soft paint/adhesive, switch technique or use a different abrasive type.
- Edges keep burning through: pressure too high or grit too aggressive, lighten up and protect edges.

Hands-on tips that make assorted grits work better
Even with the “right” grit, technique matters more than people want to admit. A few habits usually separate a smooth finish from a “good enough” one.
- Use a sanding block on flat areas: it keeps pressure even so you don’t dig grooves with fingertips.
- Let the abrasive cut: heavy pressure often creates swirls and burns through corners.
- Mark the surface lightly with pencil: when the marks disappear evenly, you’ve leveled that area.
- Clean between grits: vacuum, tack cloth, or a damp rag when appropriate for the material.
- Match the grit to the tool: coarse sheets on power sanders remove fast, but can get away from you on edges.
If you’re using finishes, read the label for prep guidance. According to the Paint Quality Institute, surface preparation is a major factor in coating performance, and sanding is a core part of that prep.
Common mistakes (and what to do instead)
- Mistake: Starting at 220 because you’re afraid of scratches. Better: Start where the surface needs you to start, then step up.
- Mistake: Skipping from 80 to 220 to “save time.” Better: Add 120 or 150 in between, your finish work goes faster.
- Mistake: Sanding until it feels smooth, but scratches still show in raking light. Better: Check under angled light, it reveals the scratch pattern.
- Mistake: Using the same sheet forever. Better: When cutting slows or clogging starts, swap it, dull paper wastes time.
- Mistake: Ignoring dust. Better: Use dust extraction and PPE; if you suspect lead paint or hazardous materials, consider professional testing and guidance.
When it’s worth getting expert help
Some sanding jobs cross into “don’t guess” territory. If you’re dealing with older homes where paint history is unknown, it may be safer to pause. According to the U.S. Environmental Protection Agency (EPA), renovation activities can create hazardous lead dust in homes built before 1978, and specific lead-safe practices may be required.
You may also want a pro or specialist advice if you’re refinishing valuable antiques, sanding hardwood floors, or trying to match an existing high-gloss finish where swirl marks show easily.
Key takeaways and next steps
If you only remember a few things, make it these: pick the starting grit based on damage, move up in sensible steps, and stop chasing perfection with a too-fine sheet when the scratch pattern still comes from a coarse grit.
Action you can take today: open your assortment pack, separate sheets into coarse, medium, fine stacks, then write a simple progression on a sticky note near your workspace. The projects get easier when your process stays consistent.
FAQ
What is the best grit order when using sandpaper assortment grits?
A typical order is to start coarse enough to fix the surface, then move to medium and fine without huge jumps, for example 80 → 120 → 180 → 220. The “best” sequence depends on how rough the surface starts.
Can I sand wood with 220 grit only?
Sometimes, but it’s usually for already-smooth wood or between coats. If the board has milling marks or dents, 220 often polishes high spots and leaves low spots untouched, which looks uneven after finishing.
Why do scratches show up after staining even when I used fine grit?
Stain can highlight scratch patterns, especially if you skipped intermediate grits. Back up one grit step, sand until the scratch pattern looks uniform, then move forward again.
Is higher grit always better for paint prep?
Not always. Many coatings need a slight “tooth” for adhesion. Too fine can reduce that mechanical grip in some cases, so it’s smart to follow the paint or primer prep recommendations.
What grit should I use between coats of polyurethane?
Common choices are 320 or 400, but you should check the product instructions because cure time and film hardness matter. Light pressure helps avoid cutting through edges.
How do I know when to switch to the next grit?
Switch when the scratch pattern from the current grit looks consistent across the whole surface. If you still see random deeper lines, you’re not done with that step yet.
Why does my sandpaper clog so fast?
Soft paint, adhesive, resinous wood, or too-fine grit can load the abrasive. Try a slightly coarser grit, reduce pressure, and consider different abrasive types designed for paint removal if that’s the job.
If you’re trying to stock one set of sandpaper assortment grits that covers most DIY sanding, focus on having enough sheets in the “workhorse” range (120–220), then keep smaller amounts of coarse and very fine for specific moments, it’s a simple change that usually cuts frustration fast.