
how to strip wire insulation with tool comes down to two things most DIYers underestimate: matching the stripper to the wire, and making a clean cut without nicking copper. If your connections keep failing, your crimps feel “mushy,” or strands break off, the stripping step is often where the damage starts.
It’s also one of those tasks that looks simple until you see the variety of wire types on a real project, solid vs stranded, thin signal wire vs thick THHN, plus insulation that behaves differently. A quick, careful setup saves you rework, and it usually makes your electrical work safer and more reliable.
I’ll walk you through a practical method that works across common home and light-commercial scenarios, then give you a quick checklist to spot problems before you energize a circuit. If you’re working inside a panel or doing anything you’re not confident about, it’s smart to pause and ask a licensed electrician.
Pick the right stripper tool for the wire you actually have
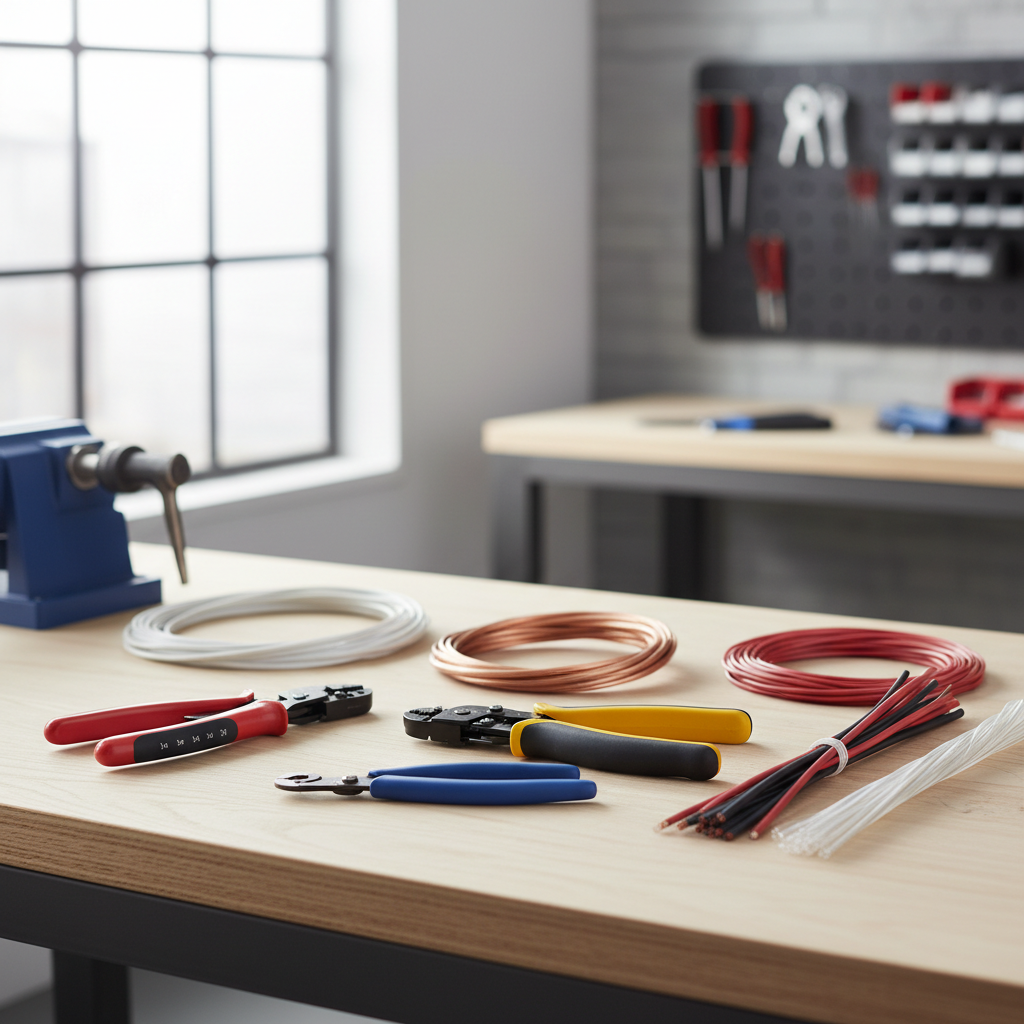
Different strippers solve different problems, and using the wrong one is how people end up cutting strands or tearing insulation. Before you strip anything, look at wire type, gauge, and how many ends you need to prep.
- Manual gauge wire stripper: Best for common solid/stranded copper in specific AWG sizes. Precise, compact, inexpensive, but you must choose the correct hole.
- Self-adjusting/automatic wire stripper: Fast for repetitive stripping, helpful when you’re bouncing between gauges, but can struggle with very hard insulation or ultra-fine conductors.
- Ratcheting stripper: More consistent pressure for tougher insulation, often used by pros for repeatability.
- Utility knife (not a stripper): Sometimes used for jacket removal on cable, but not ideal for stripping individual conductors because nick risk is high.
If the insulation is thin and the conductor is fine, a tool with sharper, cleaner cutting edges helps. If the insulation is thick and rubbery, a tool with better bite and controlled clamping matters more.
Know your wire: gauge, strand count, and insulation type
Most stripping mistakes happen because the wire isn’t what you assumed. A “14-gauge” label on a cable jacket doesn’t always mean every conductor you touch is 14 AWG, and stranded wire behaves differently from solid.
Quick ID cues
- Solid copper: One stiff conductor, easier to nick visibly, holds shape at terminals.
- Stranded copper: Many small strands, easier to accidentally cut strands, more flexible, often needs ferrules for certain terminals.
- Common insulation: PVC on building wire, thermoplastic on appliance cords, softer jackets on low-voltage cable.
According to OSHA, de-energizing circuits and using proper PPE are key parts of electrical safety practice. If you can’t confirm a circuit is off, don’t “just strip it quickly” and hope for the best.
Step-by-step: how to strip wire insulation with tool (clean, repeatable)
This is the approach that tends to work across DIY repairs, fixture installs, and basic low-voltage terminations. The goal is a clean ring cut in the insulation, then a smooth pull-off, leaving copper undamaged.
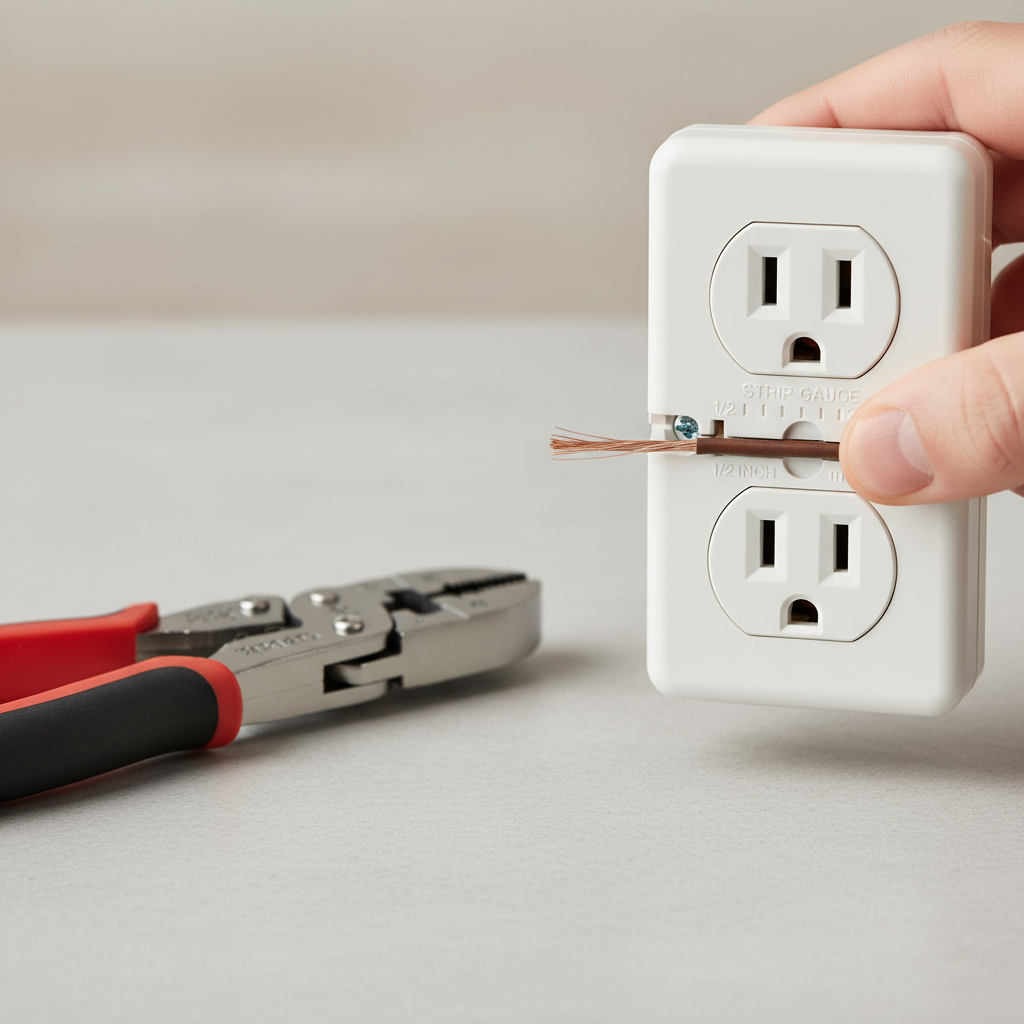
1) Set strip length before you cut
Match strip length to the connector or terminal. Many devices show a strip gauge on the back or side. If not, a common rule is “enough bare copper to fully seat in the terminal, no bare copper exposed outside.”
- For screw terminals: often 3/8 in to 1/2 in, but check the device.
- For wire nuts: enough to twist or join cleanly per connector instructions.
- For crimp terminals: match the barrel depth, not your guess.
2) Choose the correct gauge slot (manual stripper) or adjust stop (automatic)
On a manual stripper, pick the hole labeled for your wire gauge. If you’re not sure, don’t “size down” for a tighter bite, that’s how strands get cut. On self-adjusting tools, set the strip stop and do a test strip on scrap.
3) Place the wire, keep it square, and squeeze with controlled pressure
Insert wire so the cut lands exactly where you want the insulation to end. Keep the wire perpendicular to the cutting edges. Squeeze until you feel the tool bite into insulation, not until you feel metal deform.
4) Pull the insulation off in one smooth motion
With the jaws clamped, pull the stripper along the wire axis. Avoid twisting; twisting can score copper or fray strands. If insulation tears instead of sliding off, you may have the wrong gauge setting or a dull tool.
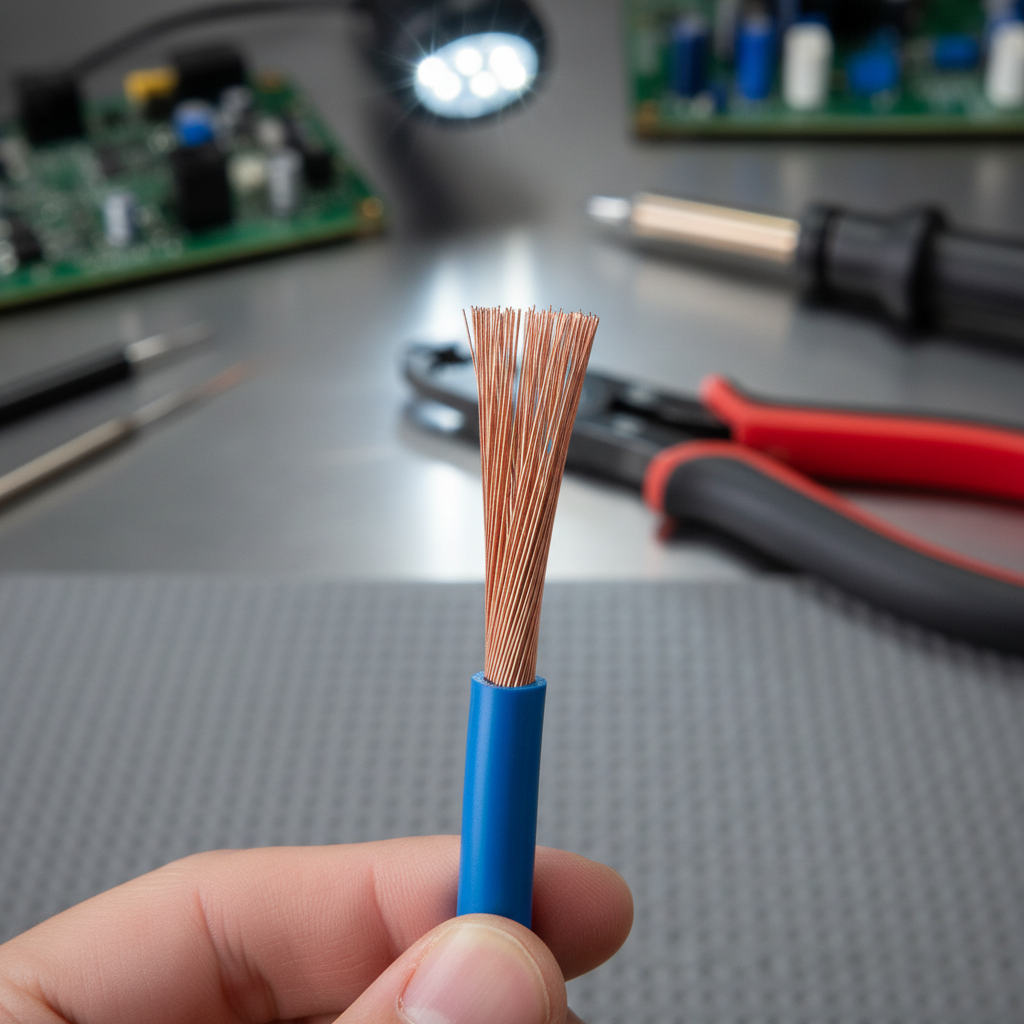
5) Inspect the conductor like you mean it
- Solid wire: look for a ring cut or notch in copper, even a small nick can become a break point.
- Stranded wire: confirm strand count looks intact, no “missing hairs,” no half-cut strands.
- Insulation edge: should look clean, not ragged, and should not be stretched thin near the cut.
If you see damage, cut the end off and re-strip. It feels wasteful, but it’s usually faster than troubleshooting a flaky connection later.
Common strip lengths by task (use as a starting point)
Real devices vary, so treat this as a baseline, then match your connector’s instructions. When in doubt, slightly shorter is safer than leaving bare copper exposed.
| Task | Typical strip length | What you’re aiming for |
|---|---|---|
| Outlet/switch screw terminal | 3/8–1/2 in | Hook or clamp fully covers bare copper |
| Push-in (backstab) style terminals | Often marked on device | Exact depth, no extra copper showing |
| Wire nut splice | 1/2–5/8 in | Even splice with full insulation coverage at nut skirt |
| Crimp ring/spade terminal | Match barrel depth | Conductor fills barrel without bare copper protruding |
| Low-voltage/signal (small gauge) | 1/8–1/4 in | Minimal exposed conductor to reduce shorts |
Self-check: are you stripping correctly or quietly damaging the wire?
If you want a fast way to judge your technique, this list catches most issues before they become failures.
- No copper damage: no nicks on solid, no missing strands on stranded.
- No exposed copper after termination: once installed, bare copper should not be visible outside the connector.
- Even insulation edge: clean cut, not torn or stretched into a thin “neck.”
- Pull test feels firm: gentle tug on the conductor after termination, it should not slip. If you’re unsure, stop and re-terminate.
- Heat is not normal: connections that run warm may indicate poor contact, damage, or wrong connector size. De-energize and inspect.
Fixes for the problems people keep running into
When someone says “my stripper tool doesn’t work,” it’s usually one of these patterns. The fix is often small.
Insulation won’t come off, it just stretches
- Try one gauge larger on manual strippers, your current hole may be biting copper too early.
- Clean the jaws, adhesive or debris can reduce grip.
- For tough insulation, use a ratcheting stripper or a sharper tool, dull edges tear instead of cut.
You keep nicking copper or losing strands
- Stop “over-squeezing.” You want a cut through insulation, not into conductor.
- Confirm wire gauge with the jacket print or a wire gauge tool, not by eyeballing.
- On fine stranded wire, consider ferrules for clamp terminals, they help prevent strand splay.
The strip length looks right, but the connection still feels weak
- Check connector size, especially wire nuts and crimp terminals.
- Make sure insulation isn’t trapped inside a crimp barrel, that reduces contact area.
- Re-strip with a clean edge, ragged insulation can keep copper from seating fully.
Safety notes and when to call a pro
Stripping wire itself is low drama, but it sits right next to higher-risk work. If you’re inside a breaker panel, dealing with aluminum wiring, or troubleshooting a circuit that trips, professional help can be the safer move.
- De-energize and verify: test with a suitable meter or tester before touching conductors. According to NFPA, electrical safety practices emphasize verifying an absence of voltage before work.
- Use the right connector: stripping perfectly won’t save a mismatched connector or damaged device.
- Stop if you see heat damage: discoloration, melted insulation, or a burnt smell suggests a problem beyond stripping technique.
If you’re not sure what wire type you have, or local code requirements apply to your project, it’s reasonable to consult a licensed electrician. Many situations are straightforward, but guessing inside energized systems can get expensive fast.
Key takeaways you can use right away
- Match the stripper to the wire, then do a test strip before committing to every conductor.
- Strip to the connector, not to a habit, device strip gauges exist for a reason.
- Inspect copper every time, minor nicks can turn into breaks and hot spots.
- When in doubt, re-strip, it’s quicker than chasing intermittent faults.
If you want your next connection to feel clean and confident, grab a scrap piece of wire and practice five strips in a row, same gauge, same length, then check for damage, that small drill makes your hands consistent.
If you’re planning a bigger project and want a more foolproof setup, look for a quality stripper with clear AWG markings, an adjustable strip-length stop, and replaceable jaws, it’s one of those tools that quietly pays you back over time.