
Crimping tool for terminals problems usually show up the same way: loose connections, wires pulling out, and intermittent power that wastes hours you don’t have. The good news is most failures come from a short list of causes, and once you match the tool to the terminal style and wire size, crimps become boringly reliable.
If you’re wiring a trailer, building control panels, doing automotive audio, or just repairing appliances, crimp quality matters more than people expect. A “mostly tight” crimp can heat up under load, corrode faster, and turn into a recurring fault you end up chasing later.
This guide focuses on real-world selection and technique: what type of crimper fits what terminal, how to avoid the common “looks fine but fails later” crimp, and a quick checklist you can use before you buy another tool you don’t need.
What a good crimp should do (and why failures happen)
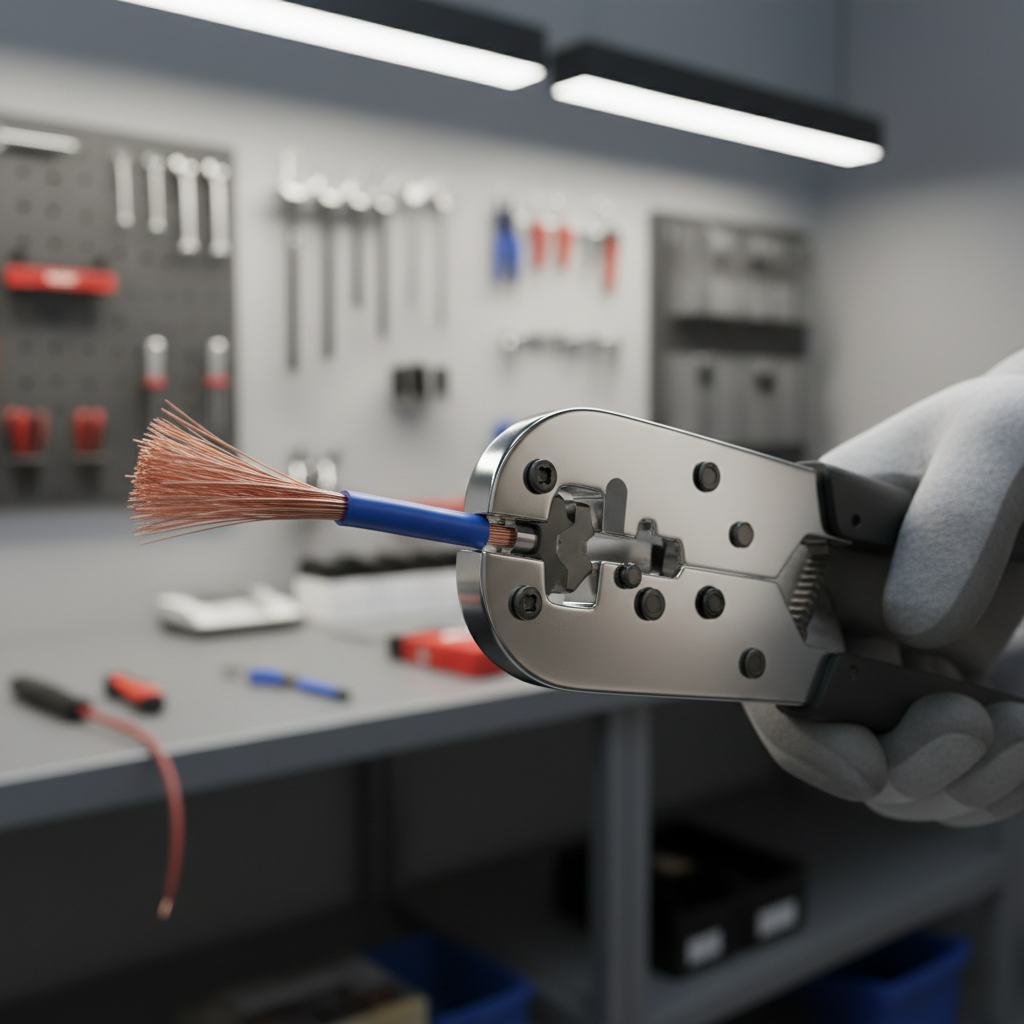
A proper crimp is a mechanical cold weld in spirit: the tool compresses the terminal barrel so the conductor strands can’t move and oxygen has a harder time getting in. You’re aiming for strain relief, consistent compression, and correct barrel fill, not just “it doesn’t fall off.”
- Wrong terminal family for the tool: insulated terminals need different dies than open-barrel (F-crimp) terminals used in many automotive and OEM connectors.
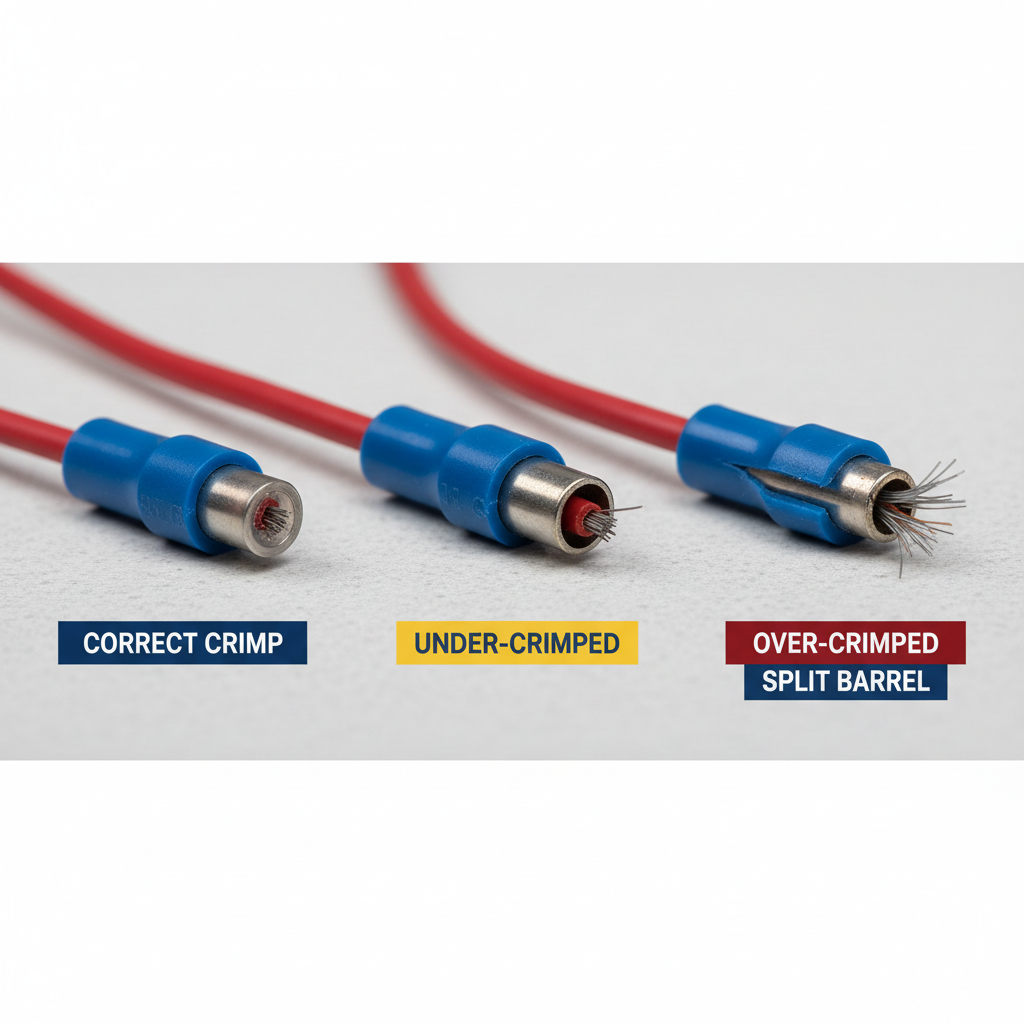
- Wrong wire gauge match: too small wire in a large barrel leaves voids; too large wire splits barrels or forces strands out.
- Non-ratcheting squeeze guesswork: inconsistent pressure is a common reason one crimp holds and the next one fails.
- Bad strip length: too short reduces contact area, too long leaves exposed strands outside the barrel.
- Cheap terminals with soft metal: some off-brand assortments deform unpredictably, especially on higher-vibration jobs.
According to UL (Underwriters Laboratories) guidance around wire and connector use, terminations should be made with methods and tools suitable for the connector type and conductor size. In practice, that means following the terminal maker’s recommendation whenever you can, especially on anything carrying meaningful current.
Types of crimping tools and which terminals they fit
Most confusion comes from people shopping for “a crimping tool,” when there are really several categories. Here’s how they tend to map in the field.
Ratcheting crimpers (insulated terminals)
These are the go-to for common red/blue/yellow insulated ring, spade, butt connectors. The ratchet forces a full cycle so the compression is repeatable. If you’re doing household repairs, car accessory wiring, or light industrial maintenance, this is often the most forgiving option.
Open-barrel / F-crimp tools (non-insulated terminals)
Used for OEM-style open-barrel terminals that fold over conductor and insulation separately. Great when you want a factory-looking harness, but only if the die matches the terminal series. Generic “open barrel” tools can work for hobby use, but mismatch is common.
Hex and indent crimpers (lugs and larger cables)
For battery lugs, welding cable, larger gauge conductors. Hex dies create a uniform compression ring; indent styles press at points. For high-current work, consistency and die fit matter a lot more than speed.
Ferrule crimpers (bootlace ferrules)
If you land stranded wire into screw terminals (panels, DIN rail components), ferrules plus a square/hex ferrule crimper can reduce stray strands and improve repeatability.
Quick self-check: do you need a different crimper or just a better process?
Before spending money, run through this list. It usually makes the decision obvious.
- You can pull the wire out with a firm tug (not a violent yank) → die mismatch or under-crimp.
- The insulation sleeve cracks or the barrel splits → likely over-crimp or wrong gauge range.
- Crimp looks “lopsided” or has sharp wings → terminal not seated in die correctly, or wrong die profile.
- Strands are cut or pushed out the back → strip length off, or conductor too large.
- Only failures happen on vibration (trailers, motorcycles) → strain relief issue, cheap terminals, or wrong terminal type.
- You’re mixing open-barrel terminals with an insulated-terminal crimper → that’s usually a tool mismatch, not a technique issue.
If you only fail occasionally, a ratcheting tool and a stricter setup routine often fixes it. If you fail consistently, the tool/terminal family mismatch is the first thing to suspect.
Choosing a crimping tool for terminals: what to look for
When people say “I want a crimping tool for terminals,” they usually want predictable results across a range of jobs. You can get close, but no single crimper covers every terminal style well, so choose based on what you crimp most.
- Terminal type coverage: insulated (color-coded), open-barrel, ferrules, lugs. Pick the one you’ll use weekly.
- Wire gauge range you actually use: don’t buy a huge range if your work is mostly 16–12 AWG, it can reduce consistency.
- Ratcheting mechanism quality: smooth ratchet, reliable release, minimal handle flex.
- Interchangeable dies: helpful if you switch between insulated terminals and ferrules, but only if dies are easy to identify and seat correctly.
- Die markings: clear AWG/mm² markings reduce “wrong cavity” mistakes.
Terminal/tool compatibility table (practical cheat sheet)
Use this as a reality check while shopping. It’s not brand-specific, but it reflects what usually works.
| Terminal / connector type | Typical use | Recommended crimper style | Common mistake |
|---|---|---|---|
| Insulated ring/spade/butt (red/blue/yellow) | General wiring, automotive accessories | Ratcheting insulated-terminal crimper | Using pliers or non-ratcheting “combo” tool |
| Open-barrel (F-crimp) terminals | OEM harnesses, multi-pin connectors | Open-barrel crimper matched to terminal series | Wrong die profile, wings fold unevenly |
| Heat-shrink butt connectors | Marine, outdoor, corrosion-prone areas | Ratcheting crimper + proper heat gun | Crimping on the wrong section of the barrel |
| Bootlace ferrules | Control panels, screw terminals | Square/hex ferrule crimper | Skipping ferrules and clamping bare strands |
| Battery lugs / heavy-gauge lugs | Inverters, winches, high current | Hex/indent crimper with correct dies | Under-crimp that looks “tight enough” |
How to crimp reliably (step-by-step, no drama)
Technique matters, even with a premium tool. This is a workflow that holds up across most common terminals.
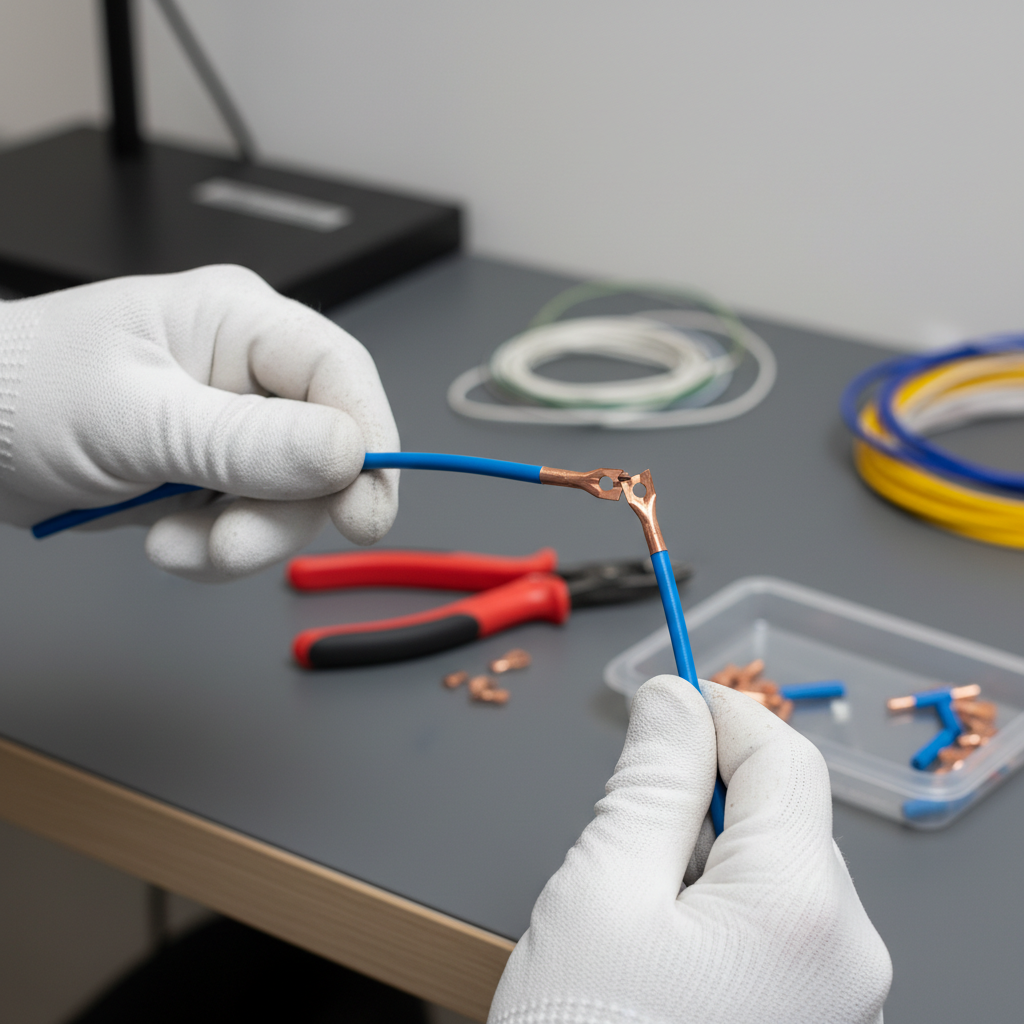
1) Strip to the terminal’s barrel length
Strip so strands reach the end of the conductor barrel, without bare copper sticking out past the crimp area. If your terminal has an inspection window, you should see copper, not insulation.
2) Seat the terminal in the correct die cavity
Match AWG to the marked cavity. For insulated terminals, many tools align the seam in a specific orientation; follow the tool’s marking if it has one.
3) Insert wire fully, then crimp through a full cycle
With a ratcheting crimper, let it complete the cycle. If you stop early, you’ll get a deceptive “half crimp.” With non-ratcheting tools, squeeze can vary more than people think.
4) Do a quick tug test and visual check
- Tug test: firm pull on the wire, hold the terminal, no slipping.
- Visual: barrel compressed evenly, no severed strands, insulation support (if present) grips jacket, not copper.
5) Add strain relief where vibration exists
On vehicles, trailers, and machinery, support the wire with clamps, loom, or zip ties so the crimp doesn’t become the flex point. This is where “good crimp” becomes “lasting crimp.”
Key takeaway: a consistent tool matters, but repeatable prep and inspection prevent the “random” failures people blame on luck.
Safety notes and common misconceptions
Electrical work can involve heat, arcing, or fire risk if a connection runs hot. If you’re working on mains voltage, critical equipment, or anything safety-related, it’s reasonable to consult a licensed electrician or qualified technician.
- “If it fits, it crimps” is how you get intermittent faults. Terminal series and die profiles are not interchangeable in many cases.
- Solder as a “fix” can backfire in vibration settings because solder can wick into strands and create a stiff point that may fatigue. In many automotive and industrial contexts, a correct crimp is preferred, but requirements vary by application.
- Over-crimping is real. Crushing can cut strands or crack plated barrels, which may accelerate corrosion.
According to OSHA electrical safety resources, reducing exposure to energized parts and following safe work practices is central. Practical translation: de-energize circuits when possible, verify with a meter, and don’t treat “low voltage” as “no risk.”
Conclusion: what to do next
If your connections keep failing, don’t just squeeze harder. Match the terminal family to the correct tool, stay within the intended wire gauge range, and use a simple tug-and-look inspection on every crimp until your process feels automatic.
If you want one immediate upgrade that helps most people, pick a quality ratcheting crimper for the terminal type you use most, then buy better terminals in that same ecosystem. Consistency beats variety almost every time.
FAQ
What is the best crimping tool for terminals for home and automotive wiring?
For common insulated ring/spade/butt connectors, a ratcheting insulated-terminal crimper is usually the safest bet because it delivers repeatable pressure and reduces under-crimps.
How do I know if my crimp is strong enough?
A firm tug test should not move the wire, and the barrel should look evenly compressed without cutting strands. If it passes visually but fails under vibration later, add strain relief and confirm wire/terminal sizing.
Can I use pliers or a “multi-tool” crimper in a pinch?
You can sometimes get a connection that works briefly, but repeatability is the issue. If the circuit carries meaningful current or lives in a vibration-prone area, a proper crimper is a better risk trade.
Why do my butt connectors pull off even after crimping?
Most often it’s the wrong cavity for the wire gauge, a partial crimp (especially with non-ratcheting tools), or a connector barrel that’s too large for the conductor. Cheap assortments can also vary in barrel thickness.
Do I need a different crimper for open-barrel terminals?
In many cases, yes. Open-barrel terminals typically need an F-crimp die profile that folds wings correctly. A generic tool may work, but mismatches are common and show up as uneven folds or weak retention.
Are heat-shrink terminals worth it?
For outdoor, marine, or road-salt environments, they often help because they seal out moisture after you crimp and heat. Just make sure you crimp the metal barrel area, then shrink the sleeve with a proper heat source.
When should I ask a professional for help?
If you’re terminating conductors for mains power, breaker panels, life-safety systems, or expensive equipment you can’t afford to damage, it’s smart to consult a licensed electrician or qualified technician, since code and liability can apply.
If you’re trying to standardize your kit and stop chasing intermittent faults, start by listing the terminals you use most and the wire gauges you touch weekly, then choose a crimper that matches that reality. If you’d rather take the guesswork out, a supplier who can confirm terminal series and recommended die profile for your application can save time and rework.