
cable management sleeve neoprene is often the simplest way to stop the “cord spaghetti” under a desk, behind a TV, or inside a rack, without committing to permanent channels or bulky raceways.
If you have kids, pets, rolling chairs, or you just hate snagging a charger with your foot, a neoprene sleeve can add real day-to-day peace of mind, it bundles cables, reduces abrasion, and usually looks cleaner than zip ties alone.
That said, not every sleeve is a good match for every setup, diameter, closure style, and heat considerations matter more than most people expect, especially around power strips, adapters, and high-draw equipment.
Why neoprene sleeves are popular (and where they struggle)
Neoprene is flexible and slightly grippy, which makes it good at hugging irregular bundles, think laptop charger bricks, HDMI plus power, or multiple USB cables that change over time.
- Soft protection: helps limit scuffs on cable jackets when cords rub against desk legs, shelving, or a wall edge.
- Noise and visual cleanup: the bundle looks like one line instead of ten, and it can reduce cable rattle in some setups.
- Easy access: many sleeves use a slit or hook-and-loop closure, so you can add or remove cables without redoing everything.
Where it can struggle is heat and bulk, sleeves can trap warmth around tightly packed adapters, and a too-thick bundle may push against furniture or prevent flush mounting behind TVs.
Also, neoprene sleeves help with management and basic protection, but they are not a substitute for proper strain relief or rated conduit when code or commercial safety requirements apply.
Neoprene vs. other cable sleeves: quick comparison
If you are choosing between a few common options, this table usually clarifies the trade-offs fast.
| Option | Best for | Pros | Watch-outs |
|---|---|---|---|
| Neoprene sleeve | Desks, TVs, mixed cables | Flexible, soft, reusable, hides clutter | Can trap heat, sizing matters |
| PET braided sleeve | Long runs, airflow needed | Breathable, durable, professional look | Can fray if cut poorly, less “solid” coverage |
| Spiral wrap | Branches and breakouts | Easy to route offshoot cables | Still shows cables, can snag dust |
| Raceway/channel | Walls, baseboards, semi-permanent installs | Very clean lines, protects well | More permanent, corners take work |
A quick self-check: is a neoprene sleeve the right fit for you?
Before buying, do this quick check, it saves you from the two common problems: buying too small, or making a bundle so thick it becomes awkward.
- You need frequent changes: swapping devices, adding a monitor, moving a console, neoprene closures usually make that easier.
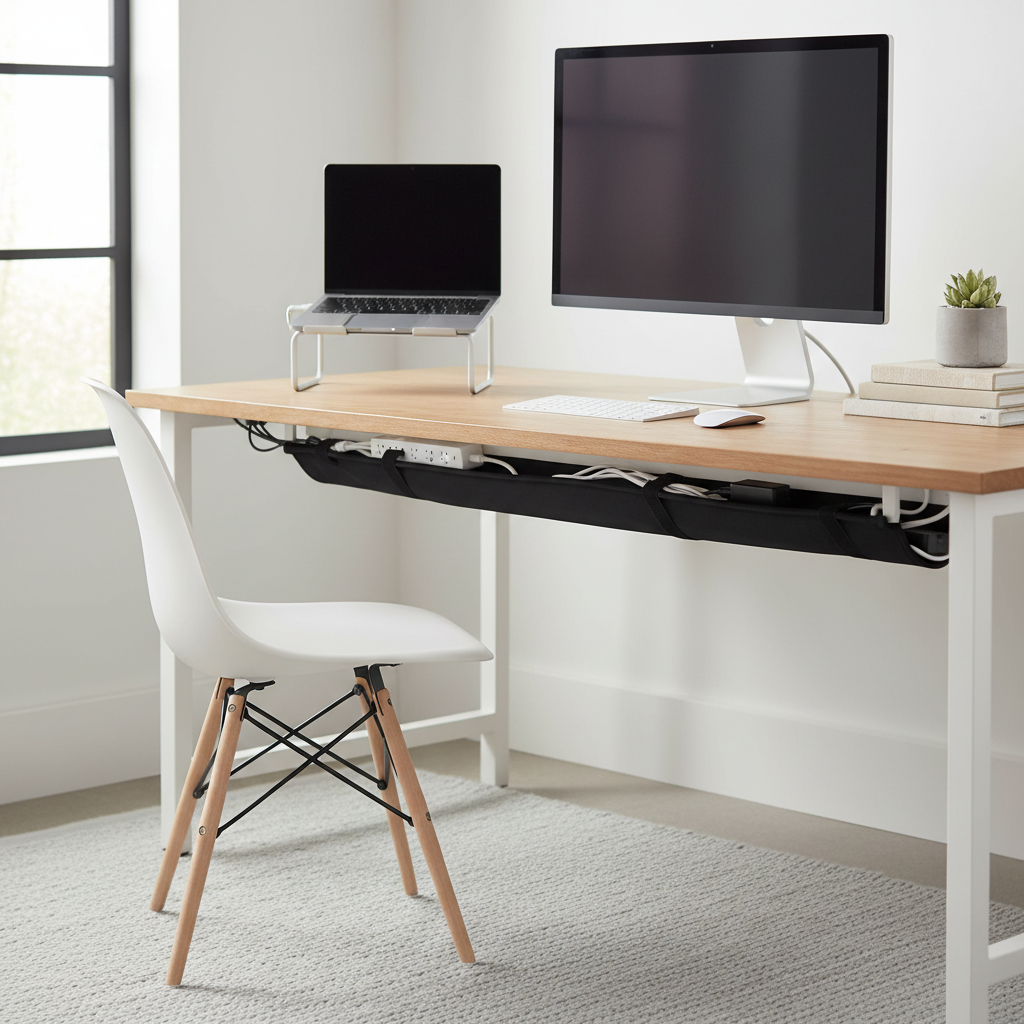
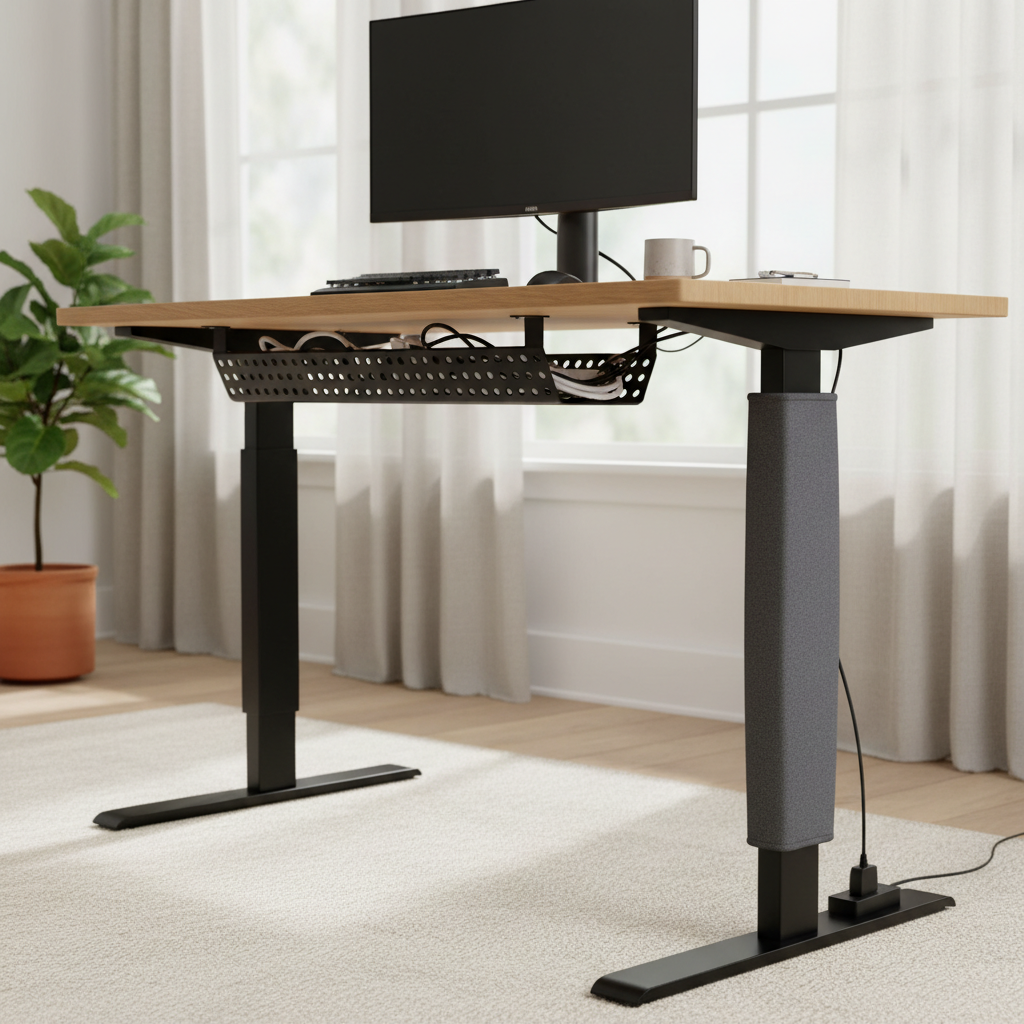
- Your cables run “in the open”: under a standing desk, behind a wall-mounted TV, along a shelf, visual hiding matters.
- You have mixed diameters: thin USB cables plus thicker power cords, the stretch helps.
- You can keep high-heat items out of the sleeve: power bricks and adapters can be positioned outside or spaced out.
If your goal is to route cables along a wall in a way that looks built-in, a raceway may look cleaner, if your setup is a dense AV or networking rack with heat load, braided sleeving may breathe better.
How to choose the right cable management sleeve (size, closure, length)
Sleeves fail for boring reasons: the bundle diameter changes, the closure pops open, or the length is wrong, so choose with your real cable path in mind.
Size: measure the bundle, not each cable
Gather the exact cables you want in the sleeve, hold them in a bundle, then measure the rough circumference with a flexible tape or even a strip of paper, convert that to diameter if you need to compare to product specs.
- Plan for growth: leave room for one or two future cables, especially for monitor upgrades.
- Avoid overstuffing: too tight means the sleeve bows, closures strain, and cable jackets take more pressure.
Closure style: split seam vs. tube
- Hook-and-loop seam: easier to add/remove cables, typically better for desks and media setups.
- Slip-on tube: can look smoother, but threading cables through later becomes a chore.
Length and routing
Measure the actual path, including slack for sit-stand movement or turning a TV, many people measure “straight line” and end up pulling cables too tight.
Installation that looks clean (and stays that way)
cable management sleeve neoprene works best when you treat it like the final cover, not the thing that fixes messy routing by itself.
Step-by-step setup
- Unplug sensitive gear if you will be moving power strips or re-seating adapters, it avoids accidental shorts or port damage.
- Separate heat sources by placing larger power bricks slightly outside the sleeve when possible, or spacing them along the run.
- Group by destination like “monitor bundle” vs “console bundle,” fewer crossovers means less tangling later.
- Add strain relief with small Velcro ties near endpoints, the sleeve should not carry the pull force.
- Close and shape the sleeve, then adjust slack so the bundle falls naturally instead of forming a stiff arc.
For under-desk runs, a small cable tray plus a neoprene sleeve is a strong combo, the tray holds weight, the sleeve hides the last visible section.
Safety and durability notes (heat, power cords, pets)
Most day-to-day cable management is low risk, but it is smart to think about heat and mechanical stress, because sleeves can hide problems until something fails.
Heat: adapters, power bricks, and tightly packed extension connections can run warm, if you notice unusual heat buildup, odor, discoloration, or intermittent power, stop and re-route, and if needed ask a qualified electrician. According to OSHA, damaged electrical cords should be removed from service, which is a good baseline rule even at home.
- Don’t sleeve damaged cables: a sleeve hides cracks or frays, replace the cord instead.
- Keep plugs accessible: avoid burying power strip switches or surge protector indicators where you cannot check them.
- Pet chewing: neoprene can discourage light nibbling, but it is not chew-proof, bitter spray or physical barriers may work better for persistent chewers.
For in-wall routing or permanent building modifications, follow local code and manufacturer guidance, a neoprene wrap is usually not the right tool for that job.
Common mistakes that make sleeves look messy
- Trying to hide everything in one sleeve: mixing desktop peripherals with power bricks often creates a bulky “snake.”
- Ignoring breakouts: if one cable branches off early, plan a clean exit point instead of forcing it to kink.
- Overusing zip ties: too tight can pinch cable jackets, Velcro is usually kinder and easier to redo.
- Skipping labels: a tiny label near each end saves time later, especially with HDMI, USB-C, and similar-looking leads.
Practical buying tips (what to look for on product pages)
Product listings can be vague, so focus on what actually predicts a good install.
- Clear diameter range with real photos of filled sleeves, not only empty product shots.
- Strong seam stitching if hook-and-loop is used, seams tend to fail before the neoprene does.
- Cuttable length with guidance for clean edges, some fray less than others after trimming.
- Color options that match your environment, black hides dirt, light gray can blend with white desks and walls.
If you are managing a high-density setup, consider combining a breathable sleeve for the hottest section and using neoprene only where you want a clean visual finish.
Key takeaways and next steps
If your main problem is visible clutter and snagging, cable management sleeve neoprene is usually a solid, low-commitment upgrade, just choose a size with headroom, keep heat-generating bricks from getting trapped, and add simple strain relief near endpoints.
Pick one area first, under the desk or behind the TV, do a clean pass, then expand, most “whole house” cable projects fail because they start too big.
FAQ
What size neoprene cable sleeve should I buy for a desk setup?
Measure the bundled cables you actually plan to cover, then choose a sleeve rated a bit larger so you can add one or two cables later, a sleeve that is barely closing on day one tends to look lumpy.
Is a neoprene cable management sleeve safe for power cords?
Many people use them for mixed bundles, including power, but keep an eye on heat and avoid covering damaged cords, if anything runs unusually warm or looks worn, re-route and consider professional advice.
Can I run HDMI and power cables in the same sleeve?
In most home and office scenarios it works fine for organization, but if you see signal issues, try separating high-draw power adapters from sensitive signal cables, especially over longer runs.
How do I keep the sleeve from sliding down a desk leg?
Add a small Velcro tie at the top anchored to a desk bracket or cable tray, sometimes a single mounting point solves the “gravity slump” without adhesives.
Do neoprene sleeves collect dust?
They can, especially near floors, darker colors hide it better, and a quick wipe with a damp cloth usually keeps it looking clean.
Can I cut a neoprene sleeve to length?
Many can be trimmed, use sharp scissors and cut slowly to avoid jagged edges, if the listing mentions reinforced edges, it often holds up better after cutting.
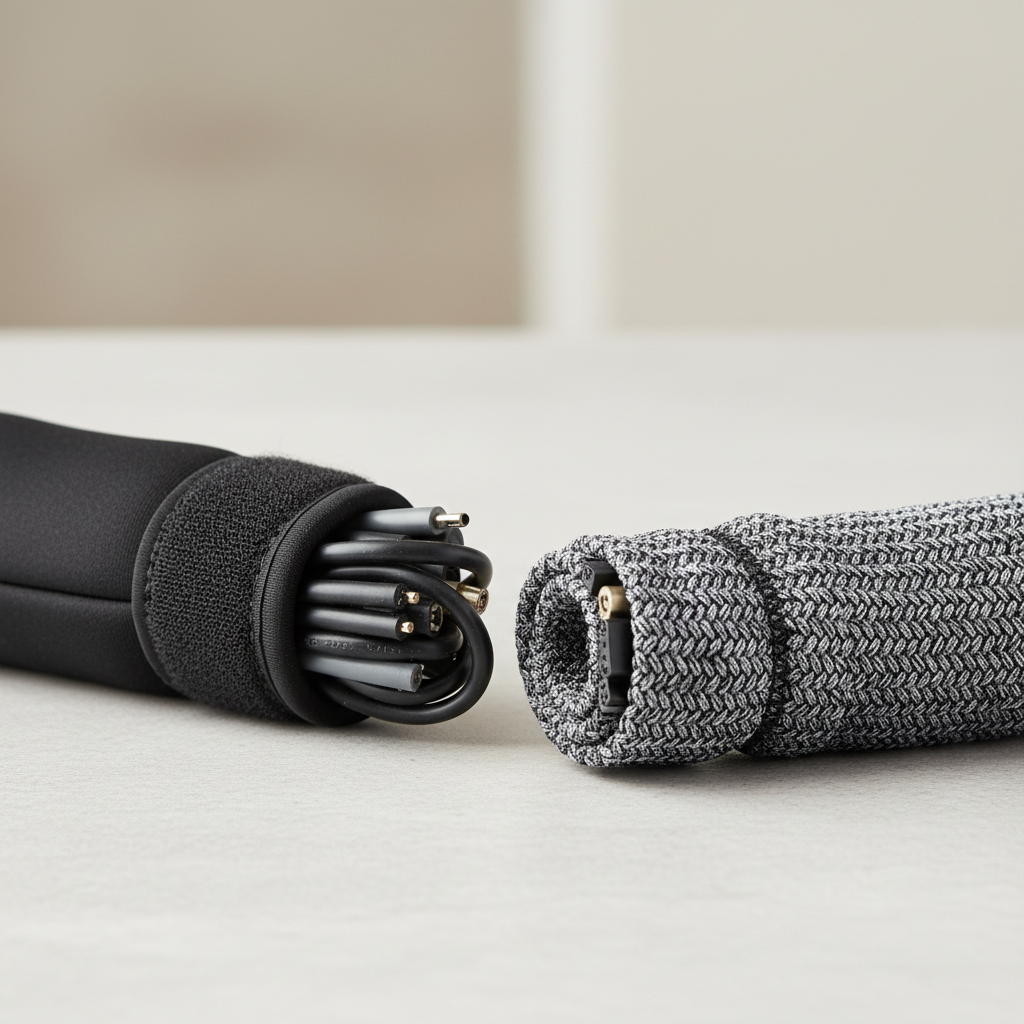
Neoprene sleeve vs. braided sleeve: which looks better?
Neoprene often looks like a solid, clean tube, braided sleeving looks more “tech” and can show cable color through the weave, the better choice depends on whether you want a hidden bundle or a ventilated, rugged run.
If you are trying to tidy a visible setup fast, or you want a sleeve that can reopen when you change gear, a neoprene option is usually the least fussy route, and if you want help picking sizing or mapping a cleaner cable path, it may be worth getting a second set of eyes before you buy multiples.