
Caulk removal tool clean is the part most people skip, then wonder why the old sealant smears, clumps, and fights them the entire job. If your remover tool drags instead of slicing, or you keep re-depositing sticky silicone onto the surface, it’s usually a cleaning and setup problem, not “bad luck.”
Old caulk tends to fail in wet zones, so the work often happens in bathrooms, kitchens, around tubs, showers, sinks, and exterior trim. Those are also the places where grime, soap scum, mildew stains, and mineral buildup sit on top of the bead, turning removal into a gummy mess.
This guide covers what makes old sealant hard to remove, how to pick and maintain the right remover, and a practical workflow that keeps your tools clean while protecting tile, fiberglass, stone, and painted surfaces. You’ll also get a quick checklist, a comparison table, and a few “don’t do this” mistakes that waste time.
Why old sealant is so stubborn (and why tools get dirty fast)
Most “old caulk” problems come from what’s on and under the bead. Even if the visible line looks dry, the edges may still hold oily residue, cleaner film, or softened silicone that sticks to blades.
- Silicone smears when warmed by friction, especially if you push too hard or use a dull edge.
- Latex/acrylic caulk can tear in chunks, leaving fuzzy residue that clogs tool corners.
- Soap scum and hard water minerals create a gritty layer that dulls plastic tips and makes metal edges skip.
- Mildew staining can signal moisture behind the bead, which often means the caulk lost adhesion and will peel unpredictably.
According to EPA guidance on mold, moisture control and thorough cleaning are central to preventing regrowth, which is worth remembering when you’re removing sealant in damp areas. If you re-caulk over contamination, the new bead can fail earlier than expected.
Self-check: are you dealing with silicone, latex, or “mystery caulk”?
You don’t need a lab test, but a quick read helps you choose solvents and tool pressure. Many homeowners mix products over the years, so you may see multiple layers.
- Silicone: rubbery, glossy, often peels in long stretches; resists water; tends to smear on tools.
- Latex/acrylic: more matte; may crumble or tear; usually cleans up easier with warm water when fresh, but old residue can be stubborn.
- Hybrid/polymer sealants: tough and elastic; can behave like silicone but with different residue, often needs mechanical removal plus a compatible cleaner.
If you can’t tell, treat it like silicone: prioritize mechanical removal, then use a safe residue remover for your surface, and keep the tool clean between passes.
Tool options and what “clean” really means (comparison table)
“Clean” isn’t just appearance. It means the working edge stays sharp, corners stay open, and the tool doesn’t transfer oily residue back onto the substrate.
| Tool type | Best for | Common clog/dirty issue | Cleaning approach |
|---|---|---|---|
| Plastic caulk remover (hook/triangle) | Tile, fiberglass, delicate surfaces | Silicone packs into corners | Wipe often, use alcohol for silicone film |
| Razor scraper (single-edge) | Glass, some tile, flat surfaces | Build-up on blade edge reduces bite | Change blades; wipe with alcohol, store dry |
| Oscillating multi-tool scraper | Large runs, tough adhesives | Heats sealant, increases smearing | Short bursts, cool-down breaks, wipe blade |
| Caulk softener/remover gel (chemical) | Thick silicone, layered caulk | Gel + softened caulk gums tools | Scrape softened material off tool immediately |
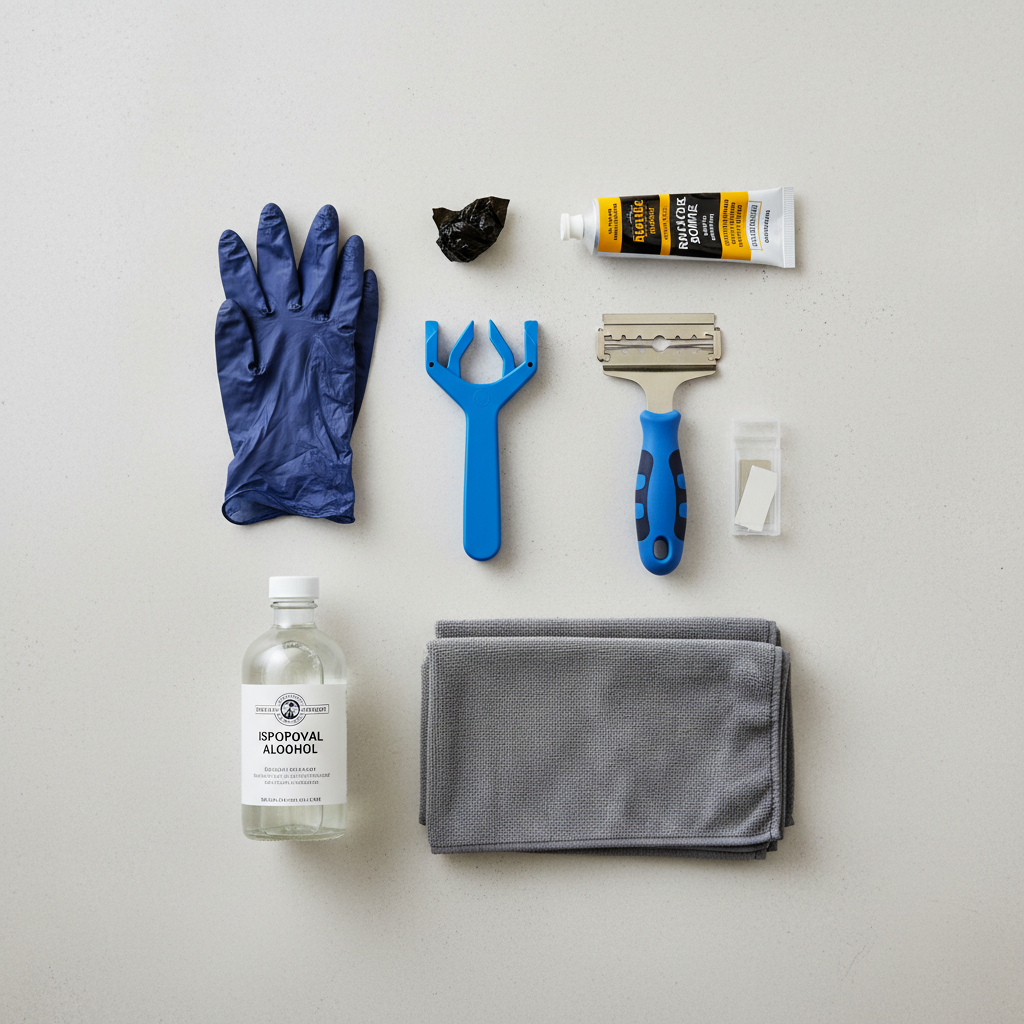
For many homeowners, the sweet spot is a plastic remover plus a razor scraper for finishing, then a residue step. The main trick is keeping the remover edge free of softened sealant as you work.
How to keep a caulk removal tool clean while you work
Caulk removal tool clean routines work best when they’re small and frequent. Waiting until the tool is fully coated usually doubles effort, because smeared silicone behaves like glue.
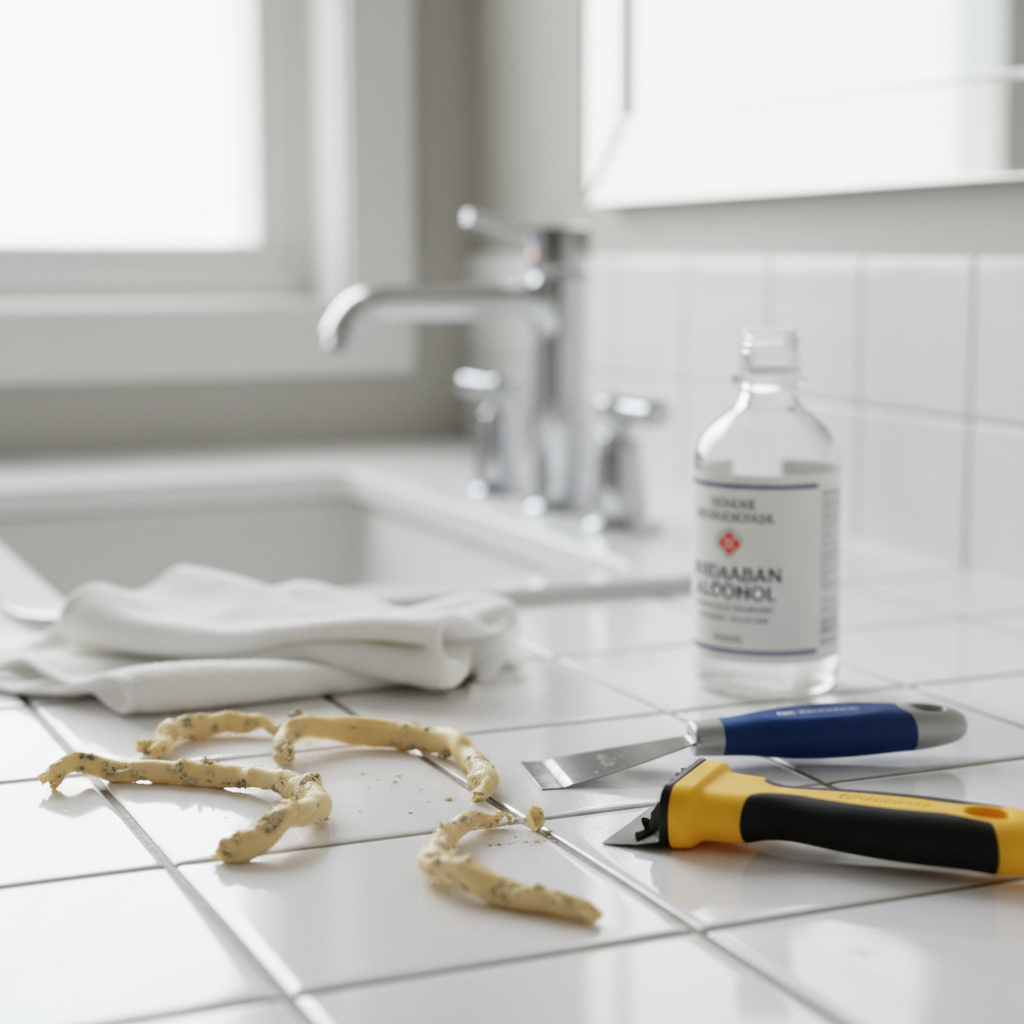
Set up a “wipe station” before you start
- Microfiber rags or paper towels (several, not one)
- Isopropyl alcohol (often helpful for silicone film) and a small cup
- Plastic putty knife or old credit card to scrape gunk off the tool
- Trash bag for sticky strips
Clean in short intervals
- Every 12–24 inches, stop and wipe the tool, even if it looks “fine.”
- Scrape the packed corners of plastic tools with a thin edge, then wipe again.
- If you feel the tool start to glide instead of cut, clean immediately; that’s residue forming a lubricating layer.
Use alcohol strategically, not everywhere
Alcohol can help break the oily film left by silicone, but surfaces vary. Test in a hidden spot, especially on painted trim, some plastics, and stone that might be sensitive to certain cleaners. If you’re unsure what your surface tolerates, checking the substrate manufacturer’s care guidance is the safer move.
Step-by-step removal workflow (less mess, better prep)
This is the workflow that tends to reduce rework: remove bulk first, then chase residue, then prep for new caulk. People flip that order and end up smearing residue into pores and grout lines.
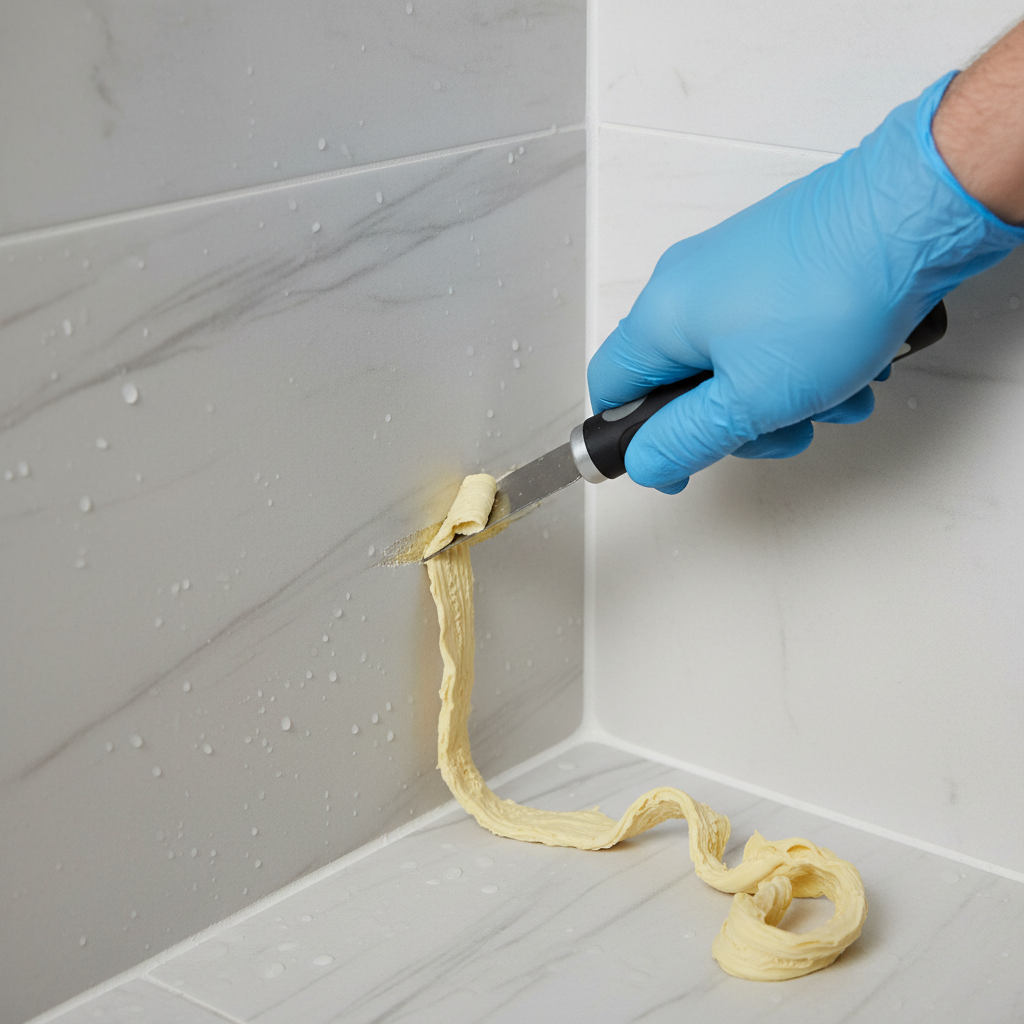
- Score edges lightly with a sharp blade where safe, so the bead releases cleanly.
- Lift and peel the main bead using a remover tool, pulling at a low angle.
- Switch to detail work for corners and tight joints; don’t force a wide edge into a narrow gap.
- Residue pass: use a compatible residue remover or alcohol where appropriate, then wipe until the surface feels squeak-clean, not oily.
- Final wash with mild soap and water, then dry fully before re-caulking.
According to CDC guidance related to cleaning moldy areas, good ventilation and protective steps can reduce exposure risks. In real bathrooms, that usually means running the fan, opening a window if you have one, and avoiding dry-scraping visible mold without cleaning controls.
Safety and surface protection that actually matters
Most damage comes from rushing corners: glazed tile chips, acrylic tub scratches, or gouged wood trim. It’s rarely dramatic in the moment, but it shows after you re-caulk.
- Glass and glossy tile: razors can work well, but keep the blade flat and replace it often.
- Fiberglass/acrylic tubs: prefer plastic tools; a metal edge can leave permanent scratches.
- Natural stone: avoid random solvents; many stones react to cleaners, so confirm compatibility or consult a pro.
- Ventilation: if you use a chemical caulk remover, follow the product label, and consider gloves and eye protection.
If you notice black staining that returns quickly, recurring moisture might be the real issue, not the sealant. In that scenario, re-caulking without fixing the moisture source tends to disappoint.
Common mistakes that keep jobs messy (and how to avoid them)
- Using one tool for everything: a remover for bulk plus a finer scraper for edges is usually faster than forcing one edge into all corners.
- Trying to dissolve everything: chemicals soften, they don’t magically lift thick beads; you still need mechanical removal.
- Skipping dry time: re-caulking onto a damp joint often leads to poor adhesion, even with “bathroom” labeled products.
- Over-cleaning with harsh solvents: stronger isn’t always better; it can haze plastics, dull finishes, or leave residue that interferes with new caulk.
Key takeaways: keep edges sharp, wipe frequently, remove bulk before residue, and treat surface compatibility as non-negotiable.
When it’s worth calling a professional
Plenty of caulk jobs are DIY-friendly, but a few situations are different. If you see widespread soft drywall, ongoing leaks, loose tile, or heavy mold growth, you may be looking at a repair job that starts behind the bead.
- Repeated failure in the same joint despite re-caulking
- Suspected water damage behind walls or under flooring
- Natural stone surrounds where the wrong remover could etch or stain
- Mold concerns that feel beyond basic cleaning, where you’d rather consult a qualified remediation professional
In many homes, paying for a correct fix once costs less than redoing caulk three times and still chasing leaks.
Conclusion: a cleaner tool makes removal easier than “more force”
Old sealant removal gets dramatically less annoying when you treat cleaning as part of the process, not the final chore. Keep your edge clear, wipe before the buildup turns gummy, and finish with a residue pass so the next bead has a fair chance to bond.
If you want one simple next step, set up a wipe station and commit to cleaning your remover every short section, it’s the easiest way to keep control and avoid scratches.
FAQ
- How do I keep silicone from sticking to my caulk remover tool?
Wipe often and don’t let the bead heat up from friction. Many people get better results using short strokes, then cleaning the edge with a dry rag and a little alcohol where the surface allows. - Is isopropyl alcohol safe for every surface during caulk removal?
Not always. It’s commonly used, but painted finishes, some plastics, and certain stone surfaces can react. Spot-test in a hidden area and follow manufacturer care guidance when available. - Do I need a chemical caulk remover gel?
Sometimes. Thick silicone, layered beads, or very old sealant may respond well to a remover gel, but you still need scraping. If the area is small and the bead peels cleanly, mechanical removal may be enough. - Why does my tool feel dull even when it looks fine?
A thin residue film can act like lubricant, so the edge slides. Cleaning the tool and switching to a fresh blade (if using a razor) usually restores bite. - What’s the fastest way to remove caulk from a shower?
Fast usually means controlled: peel bulk with a remover tool, detail with a scraper, then clean residue. Power tools can speed things up, but they can also smear silicone if they overheat the joint. - Can I re-caulk immediately after removing old sealant?
Only if the joint is clean and fully dry. In wet zones, giving the area time to dry often improves adhesion, especially if there was moisture behind the bead. - Why does new caulk fail even after I removed the old one?
Common causes include leftover residue, moisture trapped in the joint, or movement in the gap that needs a different product or backing. If failure repeats, checking for leaks or substrate damage becomes important.
If you’re trying to keep your caulk removal tool clean and still feel like you’re fighting sticky residue, it may help to switch to a two-tool setup and add a dedicated residue-cleaning step, that small change often makes the whole job feel predictable instead of messy.